
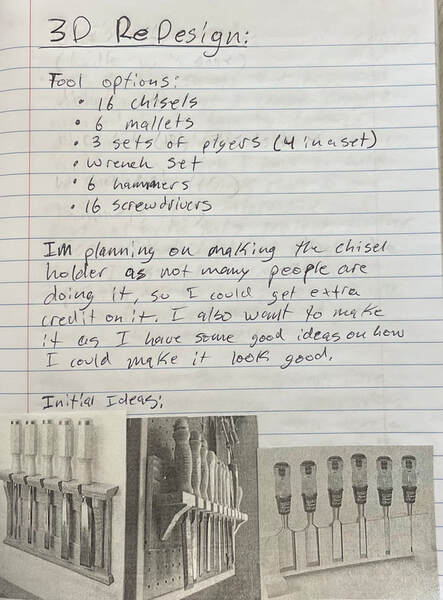
Initial Ideas for the Chisel Holder
For my ReDesign project, I am going to be doing a chisel holder, which will hold 16 individual chisels. For this project, I not only have to accommodate for its structural integrity, but also the aesthetics and the functionality of the chisel holder. Furthermore, I have to create this holder to accommodate each individual chisel as they are all different sizes.
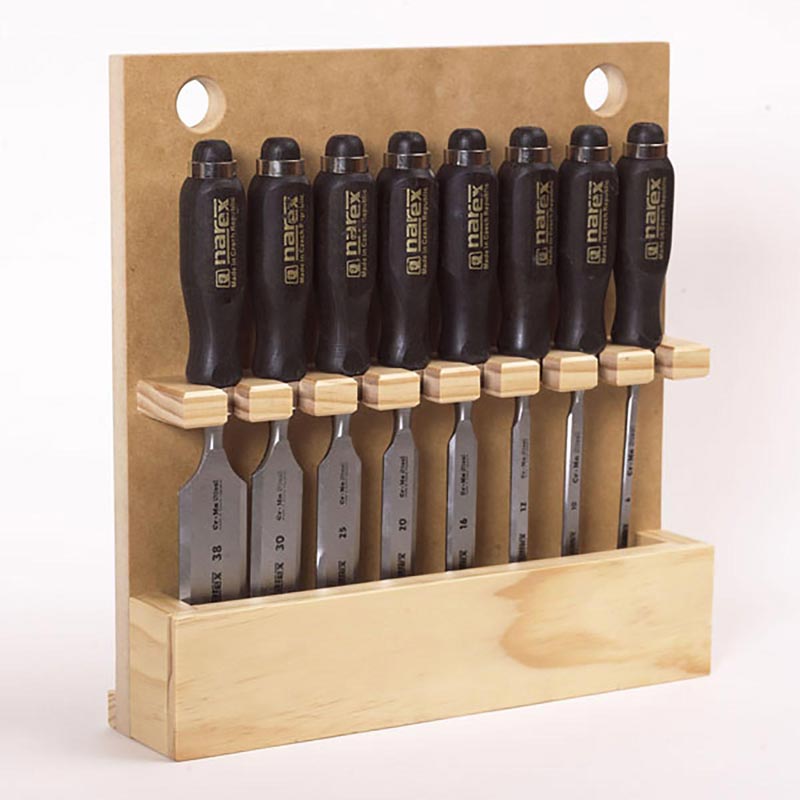
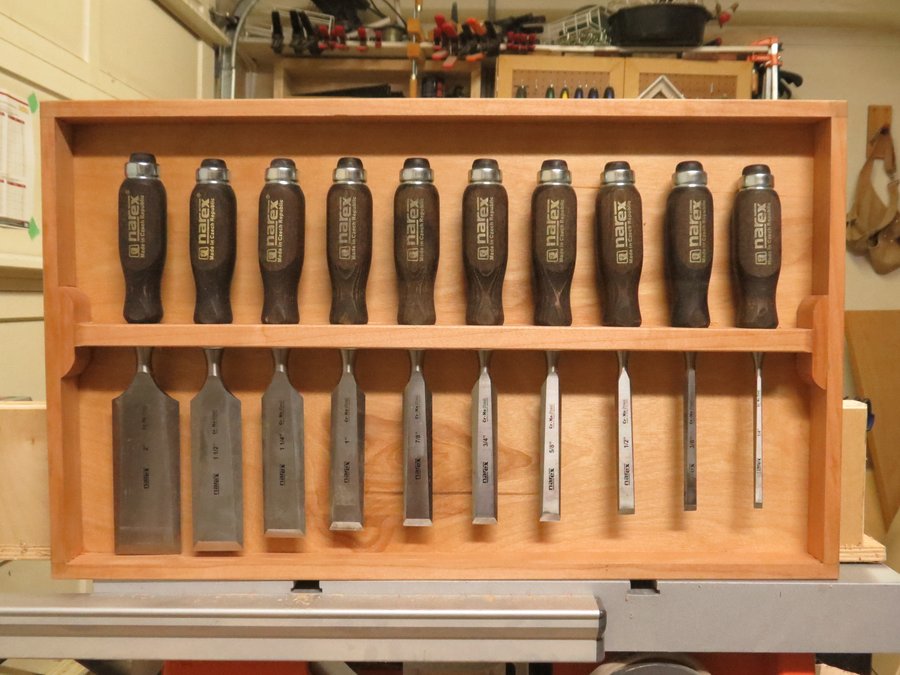
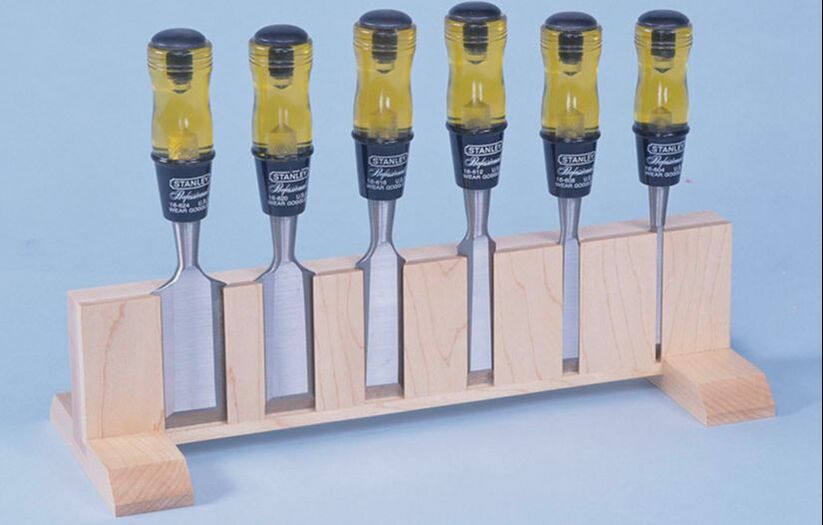
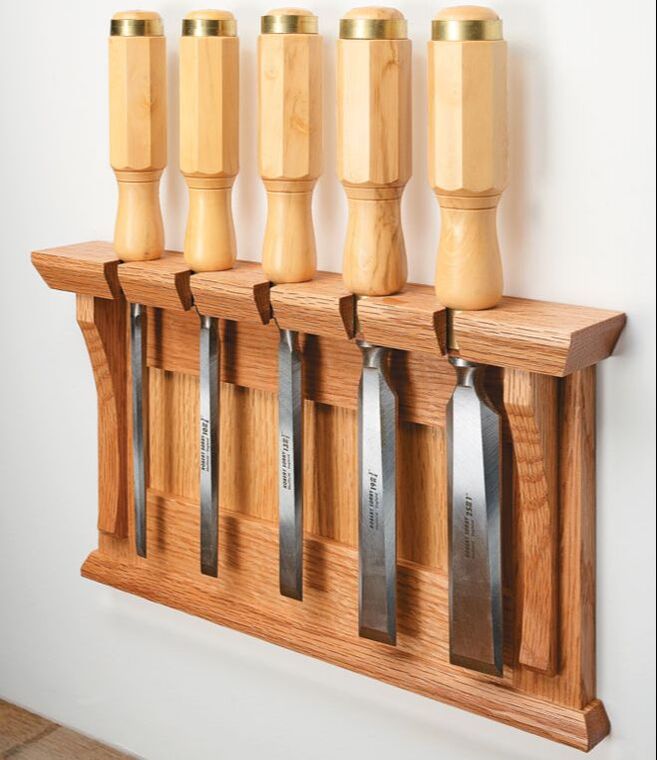
Initial Pictures of Chisel Holders
|
|
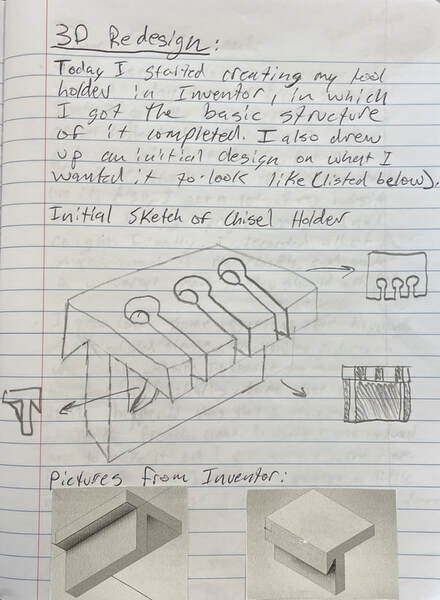
Pictures from my Designer Notebook
Here is a concept of what I wanted to create my chisel holder to look like. I took inspiration from many different chisel holder and then combined them with a few of my ideas to create this one.
|
|
Working in Inventor
After thinking about initial designs and sketching one in my designer notebook on how I wanted it to look, I started creating it in Inventor.
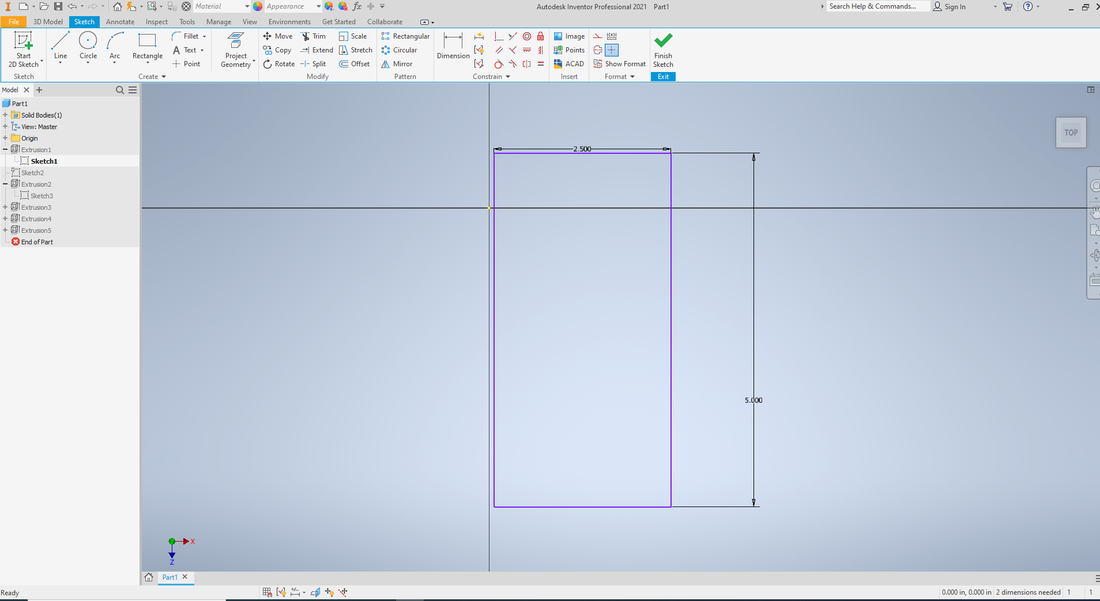
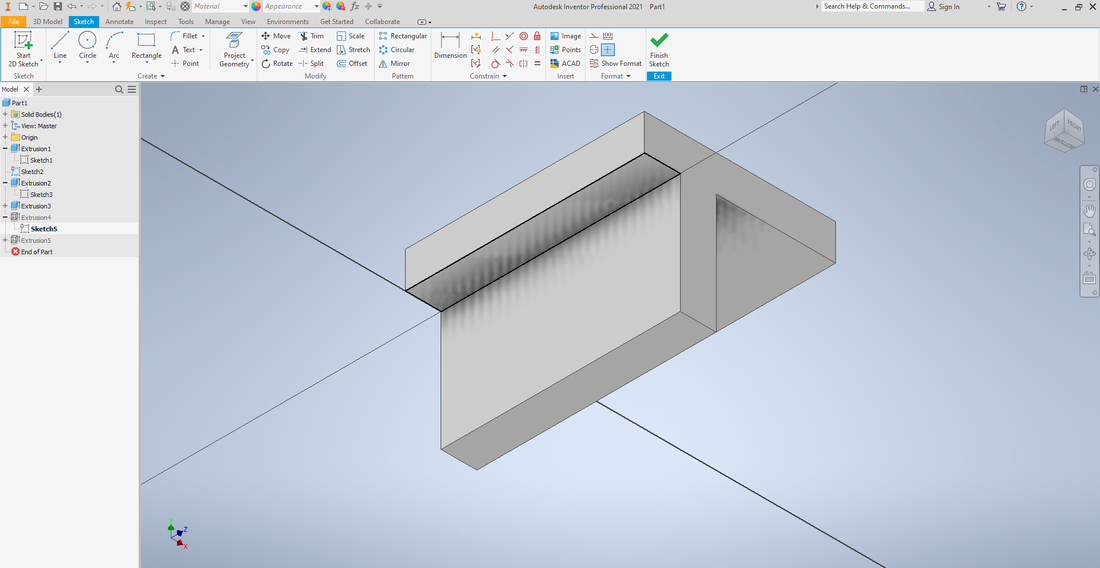
Step 1 - First, I made a 2D sketch of the top part of the Chisel Holder.
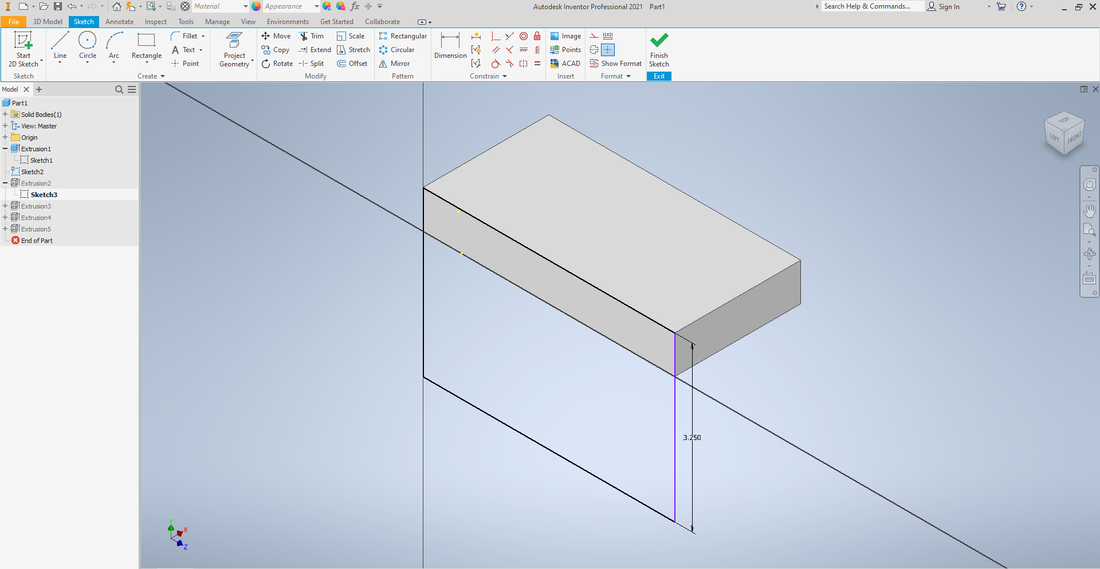
Step 3 - After that, I made a 2D Sketch to create the back piece of the chisel holder.
Step 5 - Next, I created a block extruded from the back piece, in which I then came to extrude the French cleat from.

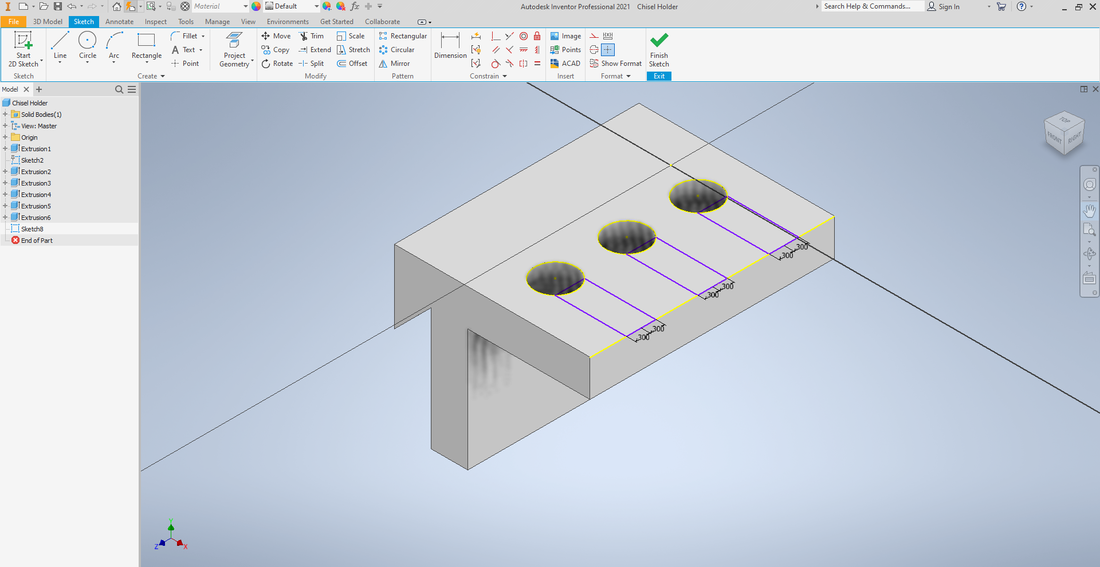
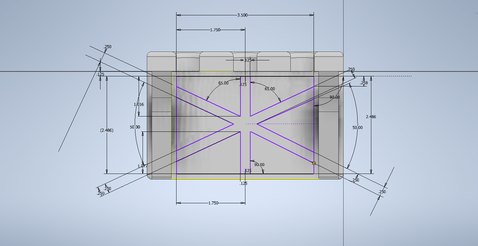
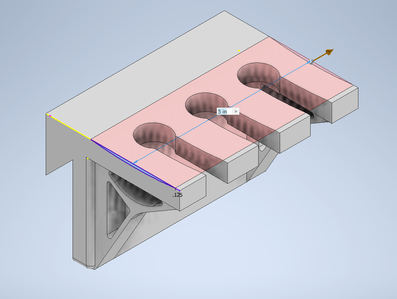
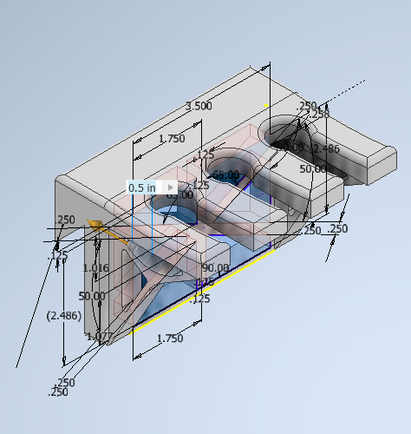
Step 7 - Next I created each of the holes where the chisels would lie and dimensioned them to be centered and evenly distributed.
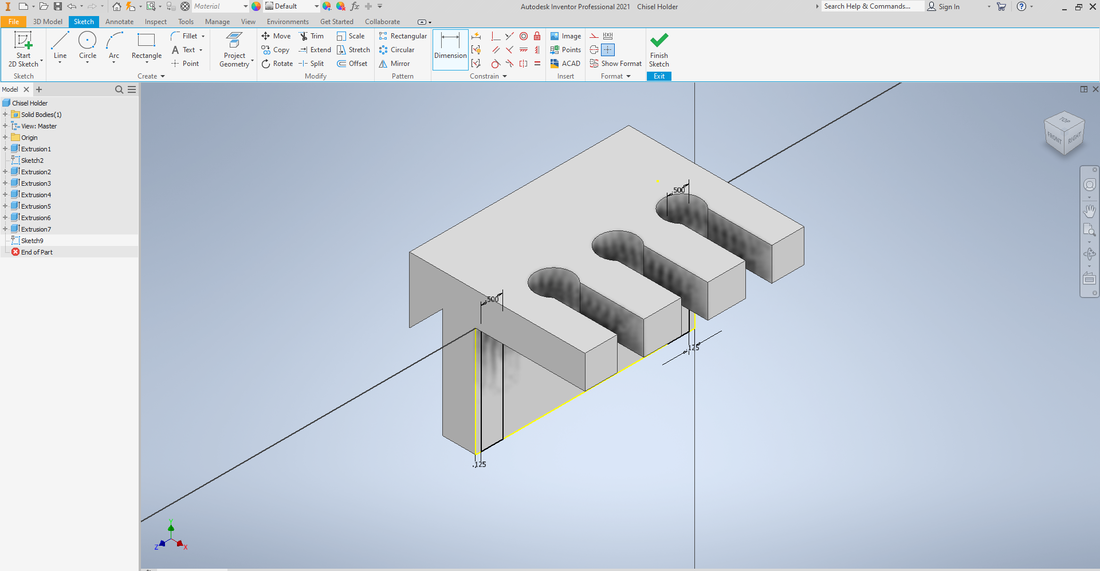
Step 9 - Then, I made a 2D sketch to create each of the slots where you could slide the chisels into the hole.
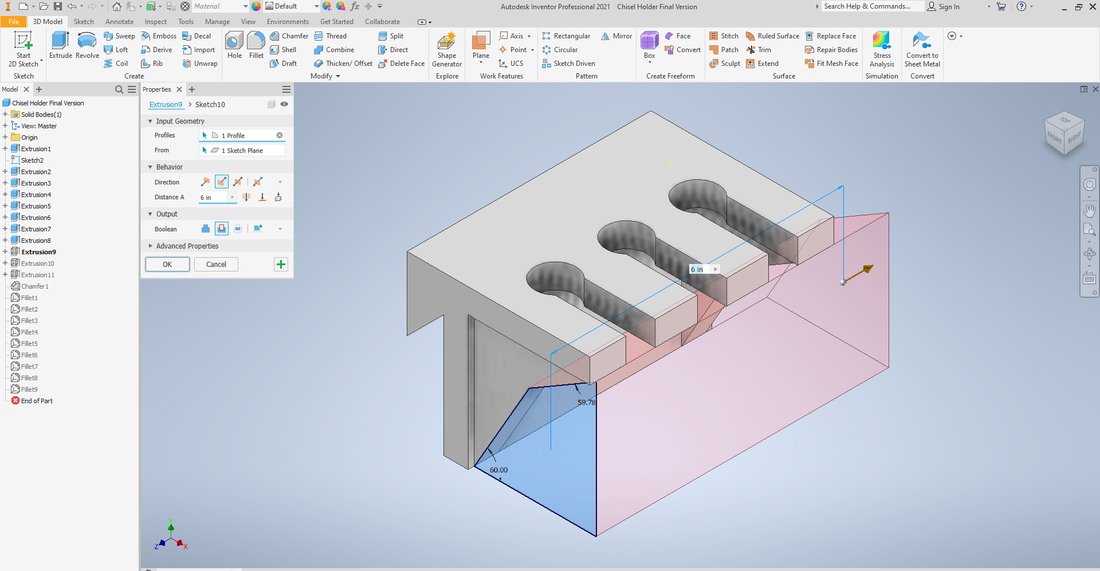
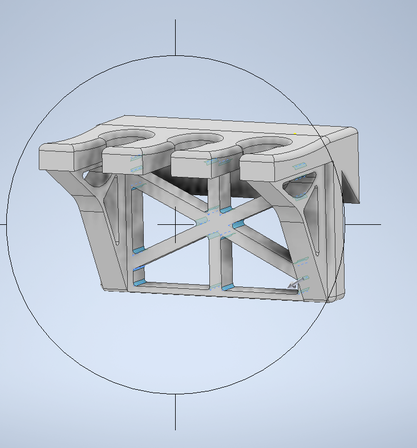
Step 11 - Next I created a 2D sketch on the front part of my backplate in order to create the triangular supports that will be holding the top portion up.
Step 13 - Next, I made a 2D sketch on each of the supports and cut out a triangular design into it.
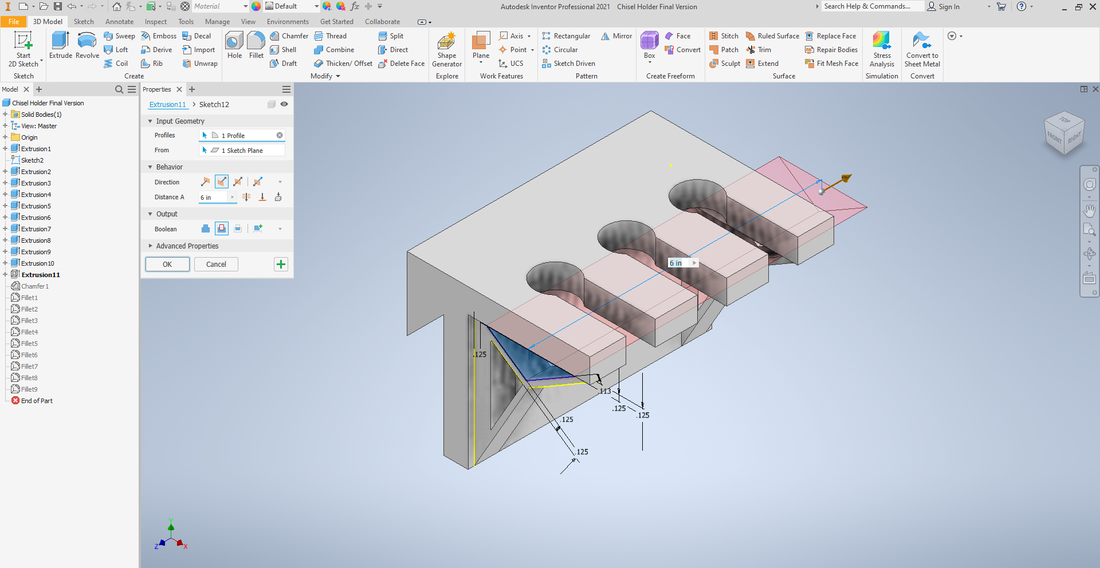
Step 15 - After cutting out the first triangle, I then cut out another triangle to remove more weight while adding more creativity to it.
|
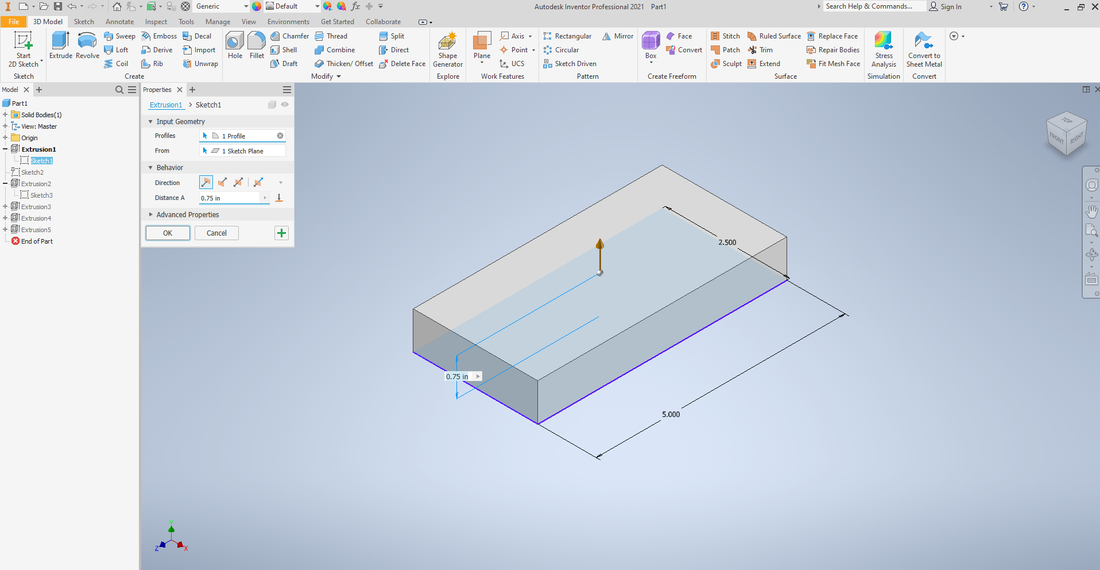
Step 2 - Next, I extruded it with a thickness of 3/4 of an inch.
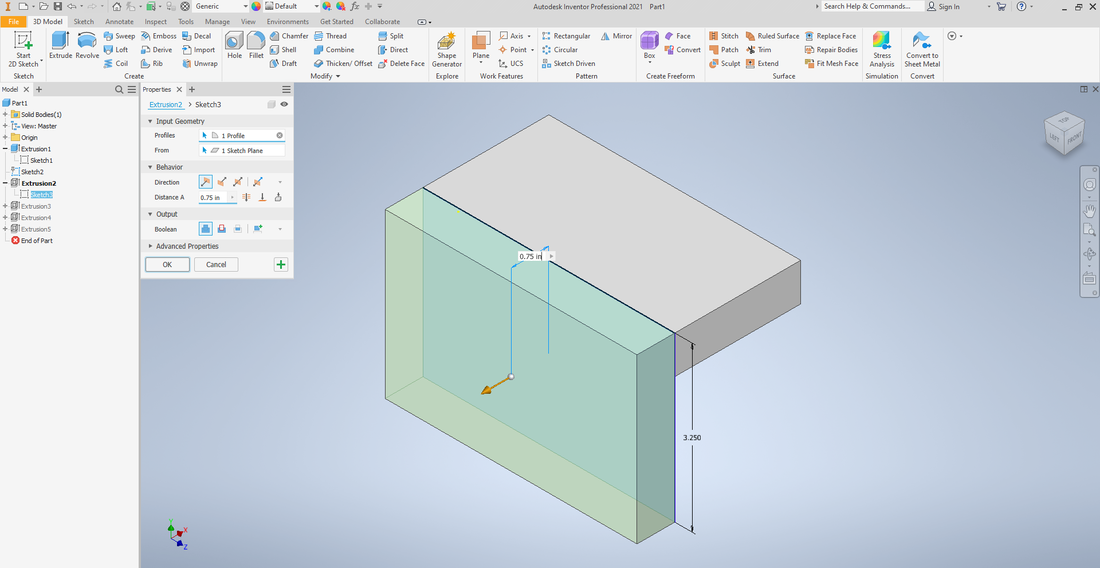
Step 4 - Then, I extruded the back piece with a thickness of 3/4 of an inch.
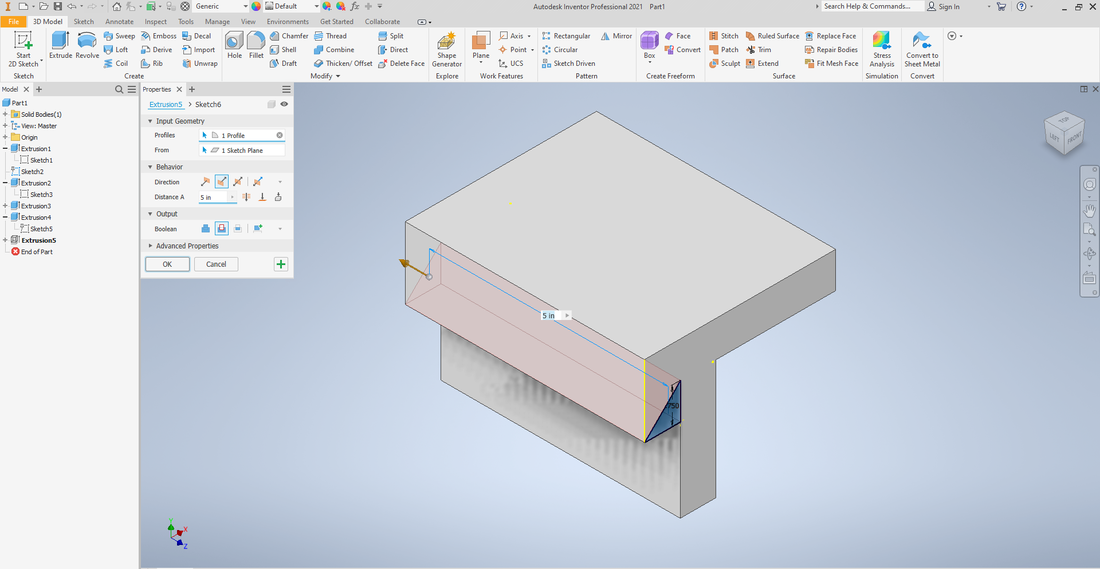
Step 6 - I then cut out the triangle shape from the previously extruded piece.
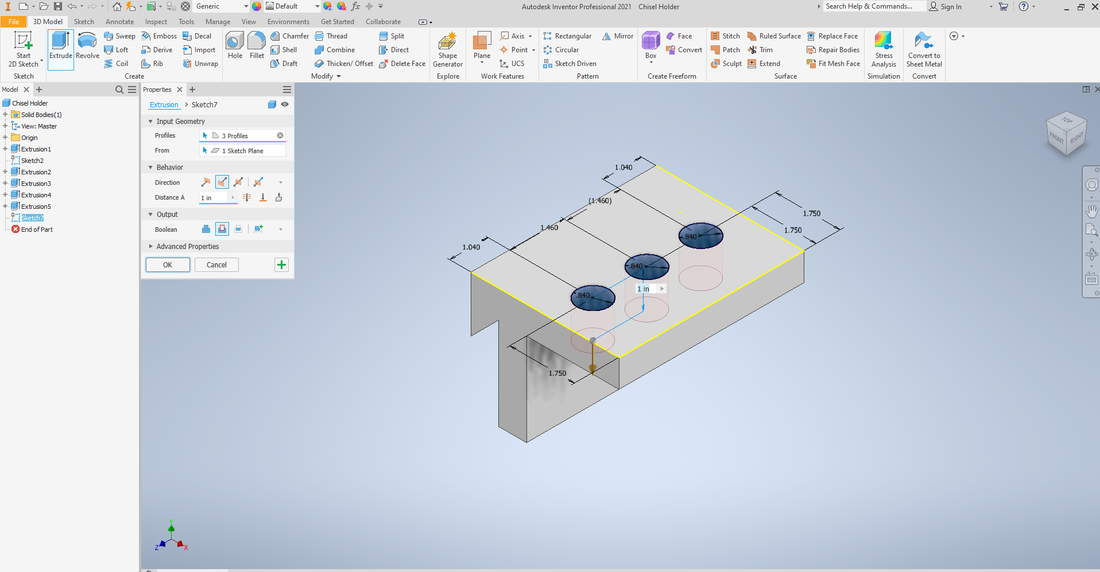
Step 8 - Next I cut out the circles using the extrusion feature.
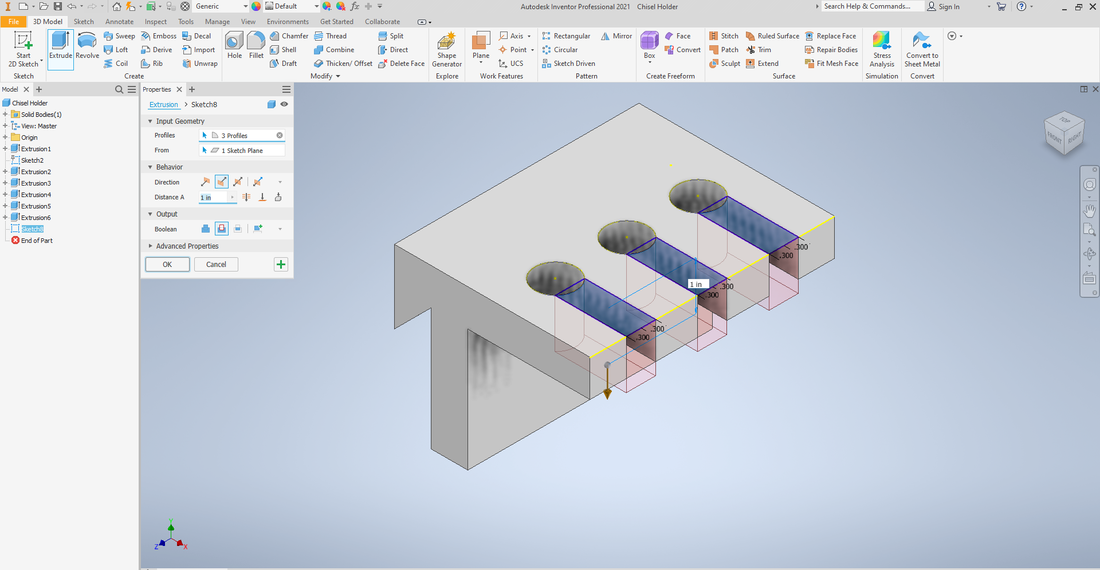
Step 10 - After that, I used the extrusion feature to fully cut out the slots.
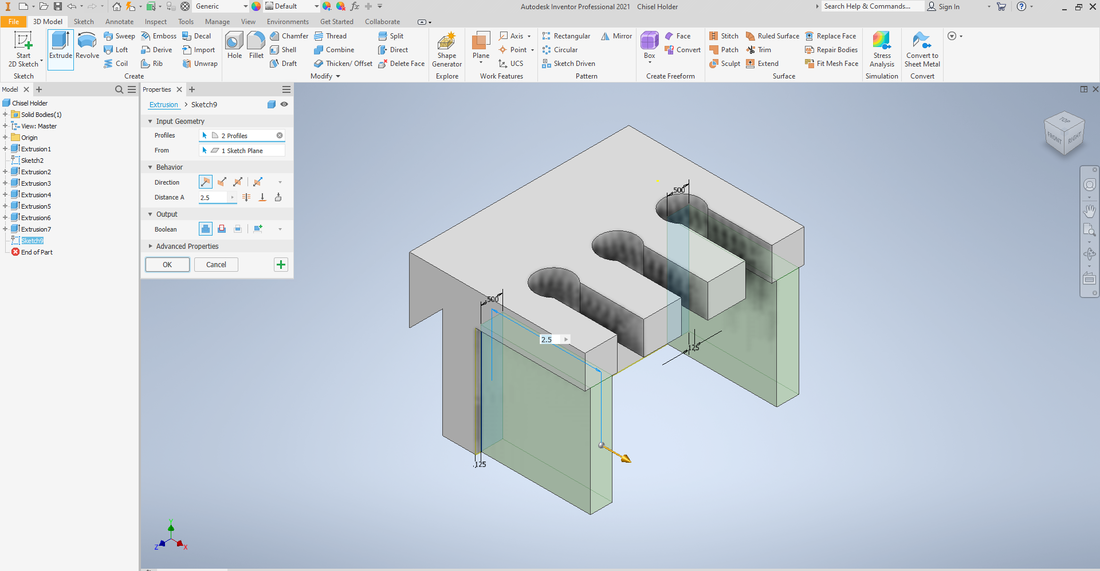
Step 12 - Then, I extruded out each of the pieces to be able to have material to shape the supports.
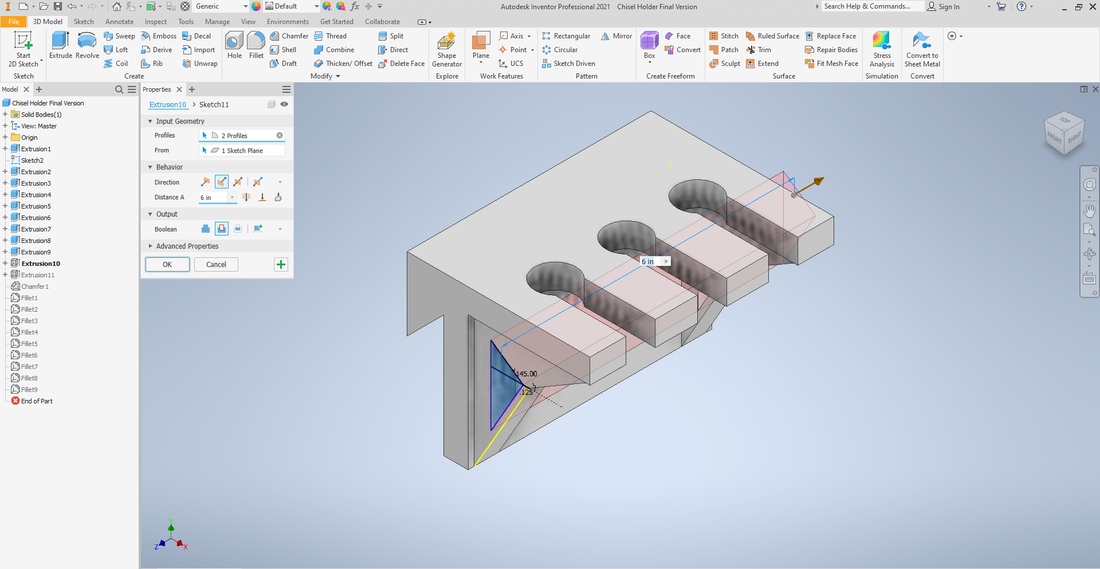
Step 14 - Next I created one of the triangular cutouts, in which all of the strong material is 1/8 inches thick, which is enough material for it to be strong and lightweight.
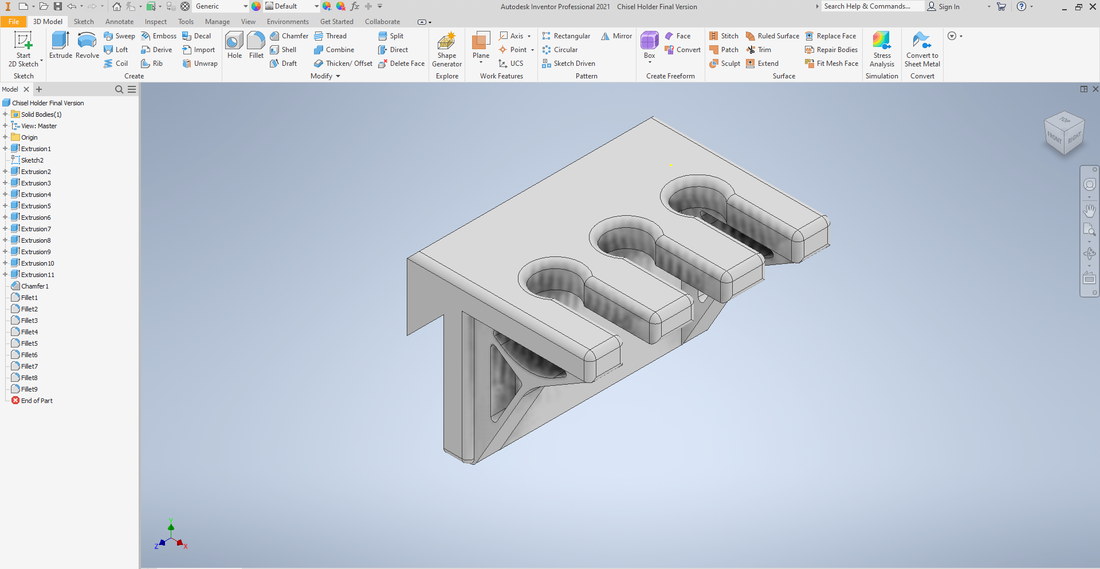
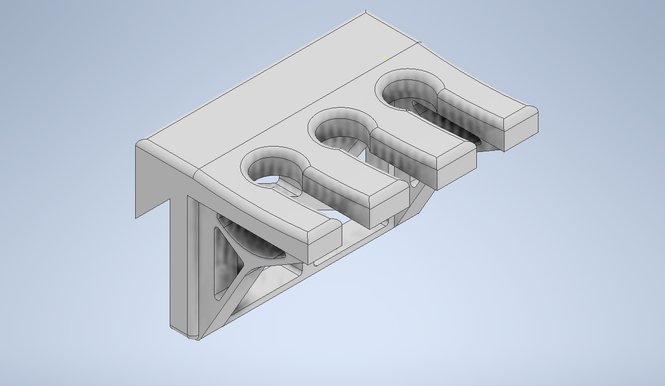
Step 16 - Finally, I used the chamfer/fillet tool to create different edge profiles, like the chamfer at the back of the piece as well as the fillet for the round edges of the tool holder.
|
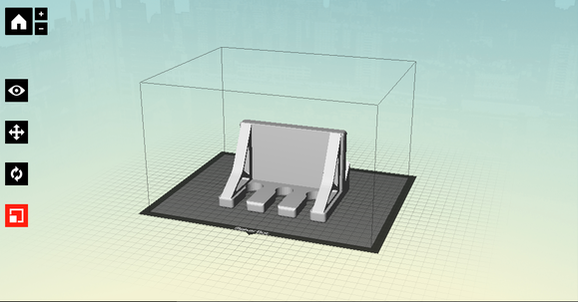
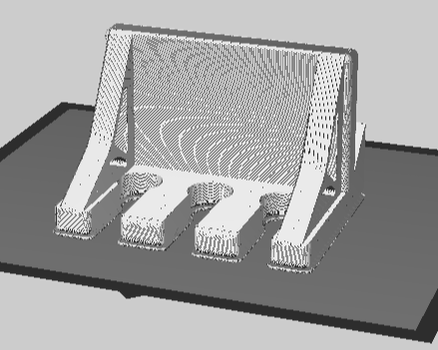
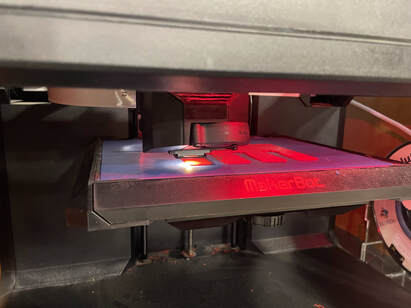
Printing the Prototype

|
|
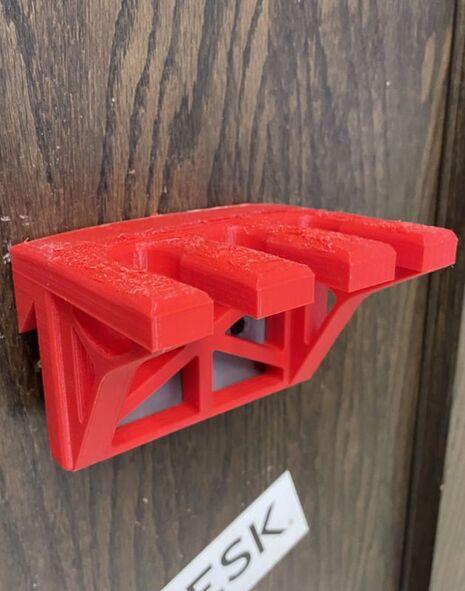
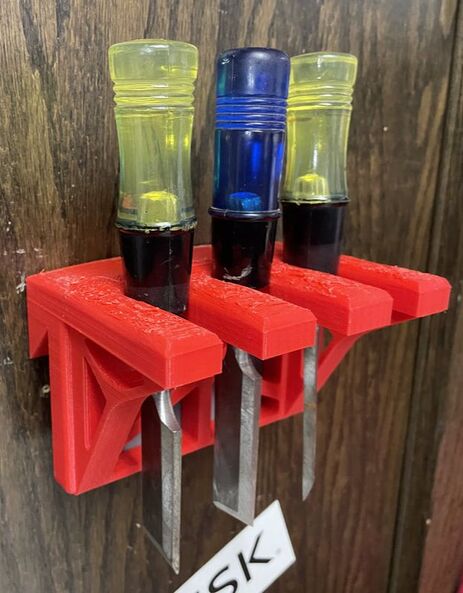
First Prototype Print
Here is the first prototype of my 3D printed chisel holder. Overall it printed out very good and actually worked well with the chisels inside of it. There are still some improvements that I could make to it to not only lighten its weight, but also make it look better. I will probably cut out a design through the back of it to relieve some of that weight and to make it look better.
|
|
ReDesigning the Chisel Holder
After the prototypes results, I was very pleased with how it held up and how it performed. I knew I still wanted to cut down even more of its weight as it was a little bit blocky, so I cut out the back piece, which probably had the most weight on it, as well as added a curve to the tool holder part to try to reduce the amount of warping when it prints.

|
|
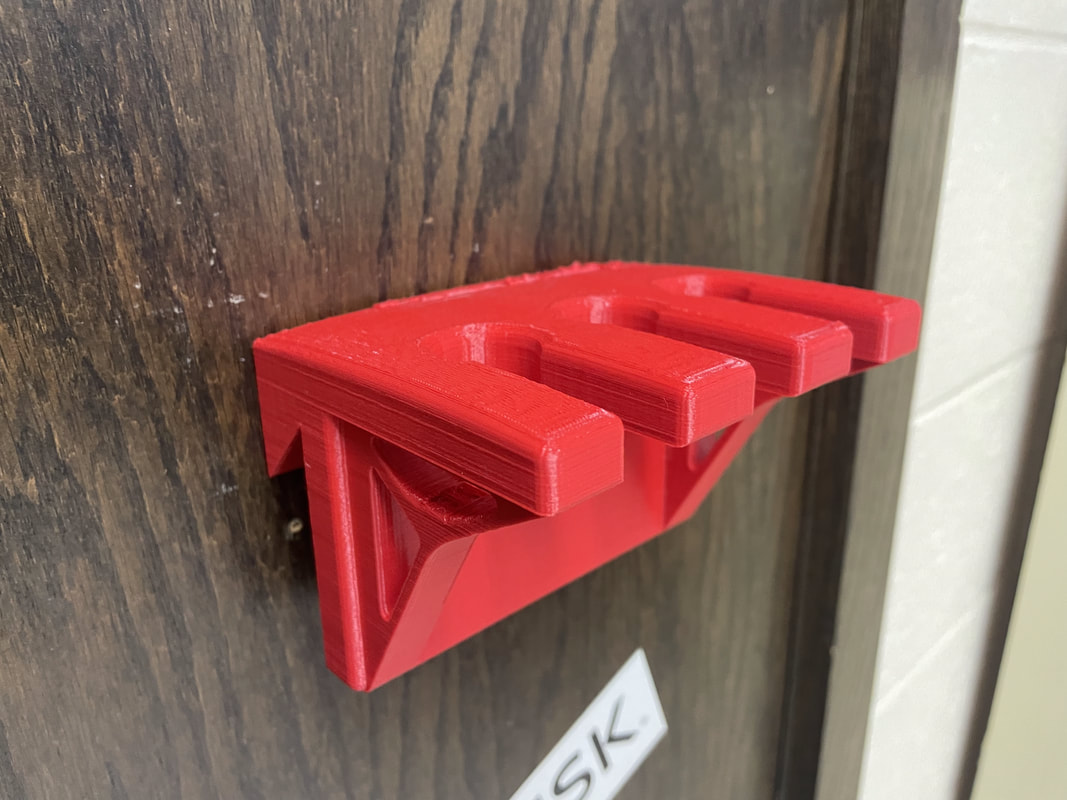
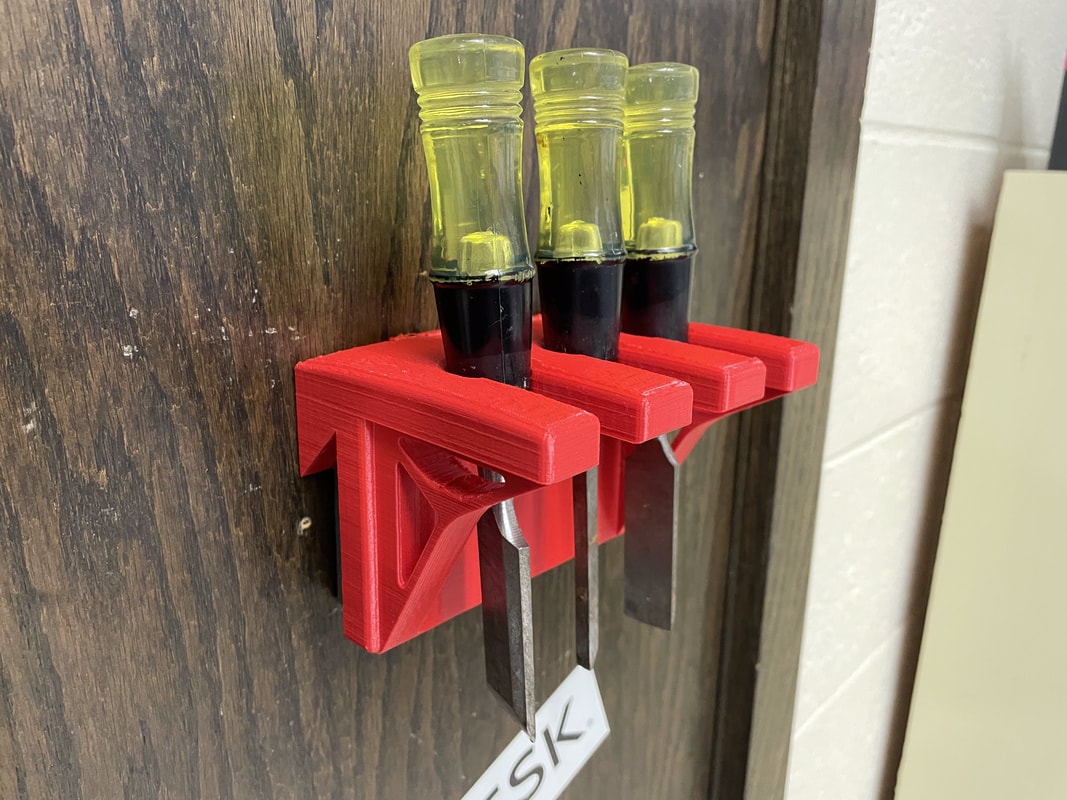
Final Printed Part
|
|
Final Summary of Redesign Unit
Overall, I loved this project as I not only got to use Inventor, which is one of my favorite parts of IDEA/Big IDEA, but I also got to help others while doing this project. I got to help other students because these projects were going into the Woods lab to hold their tools. One of the main reasons that this project was very exciting to me was that I was able to further my current knowledge on 3D Printing as I learned more uses of the fillet tool to not only be able to round sharp corners, but to also smooth over angles into a nice circular shape. Another thing that I loved about this project was that it was able to spark creativity in me as instead of going for the most direct and simplest route, I decided to utilize my time to create something out of my comfort zone. In conclusion, this project really resonated with me as not only was I able to create something unique, I was also able to help others in the process.
