
NOTEBOOK
Research/Inital Ideas
These are some of the idea pictures that I had for my notebook.
|
|
|
The Notebook Creation Process
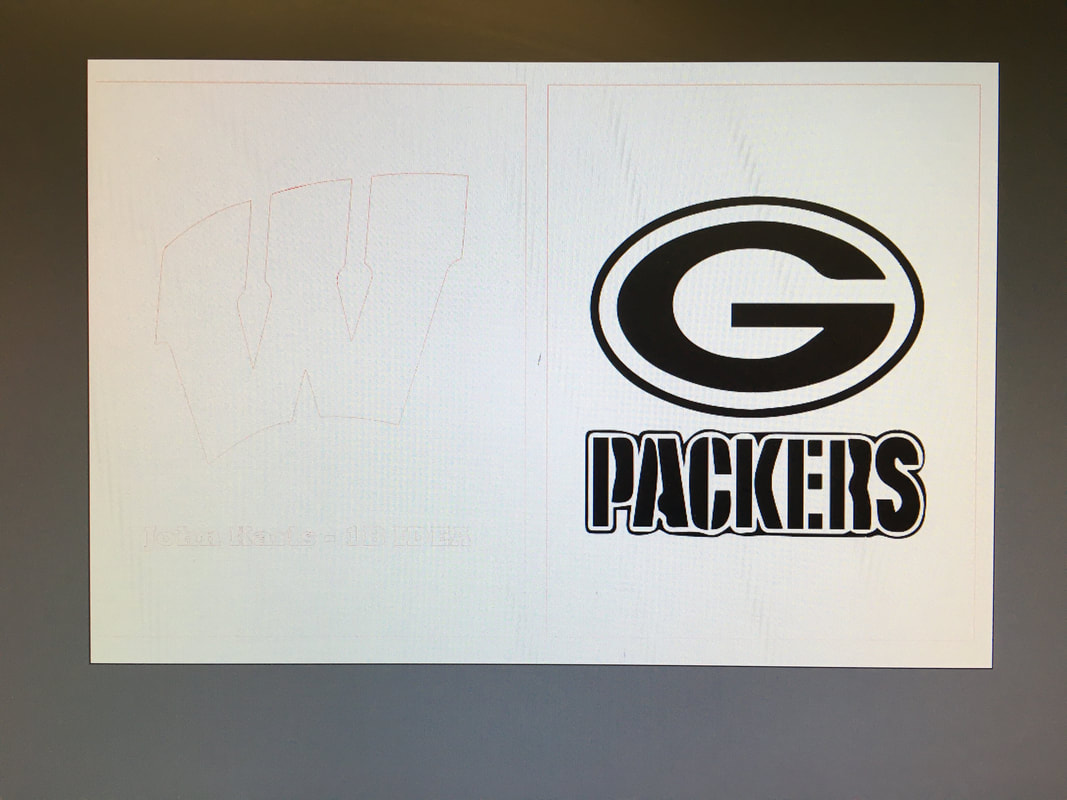
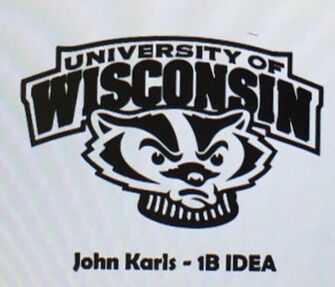
This is what the file for the two covers of the notebook looked like. I was inputting images, like the ones above, but not all of them were working so I had the change one of the packer ones to another. I decided to only cut out my name and the Wisconsin Badger W because if I were to cut out the packer logo, you would not be able to tell what it was.
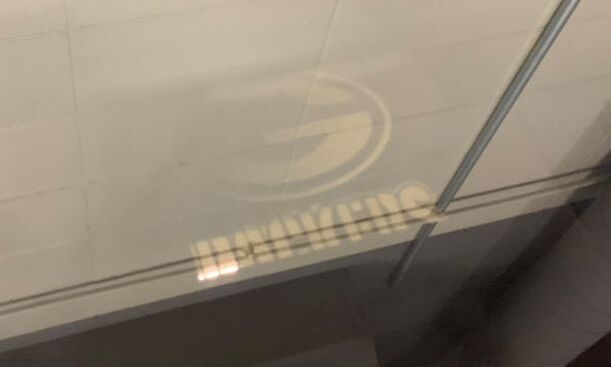
This is a picture of it during the 1/2 way point. It decided to engrave first probably because it was closer to the edge, but the engraving took the longer part of it.
|
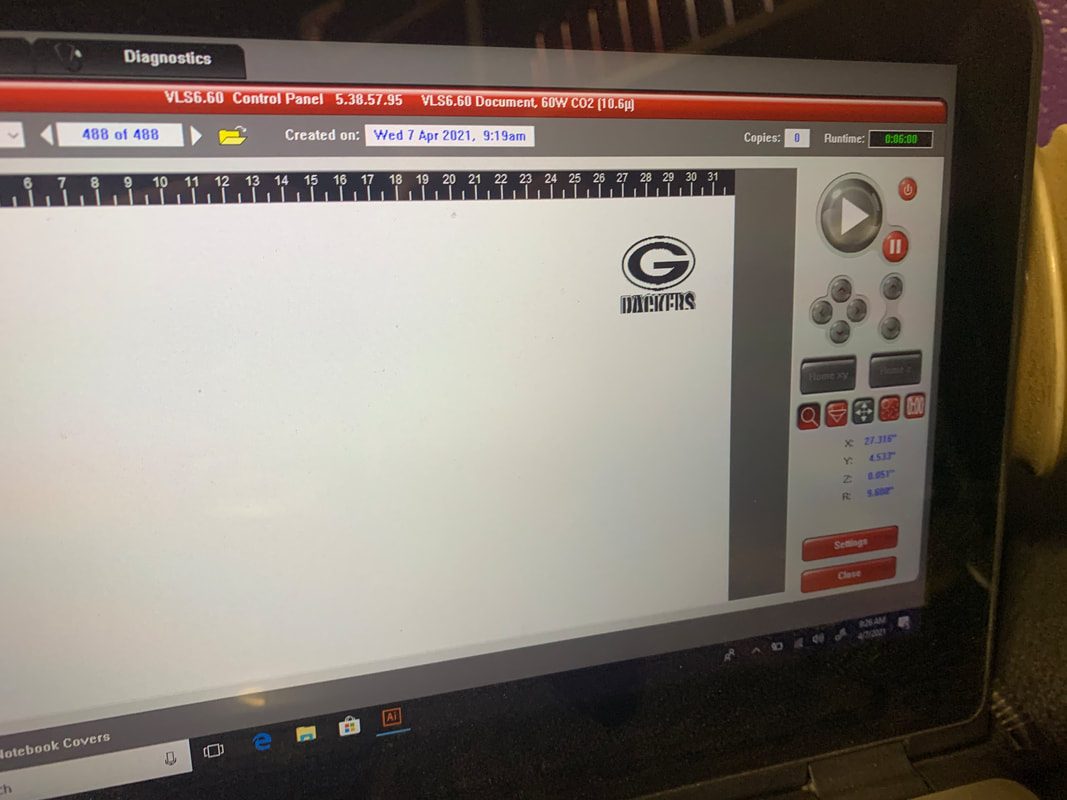
This is what the UCP program looked like after uploading my file onto it. After positioning it correctly, I am now reading to engrave and cut out my covers.
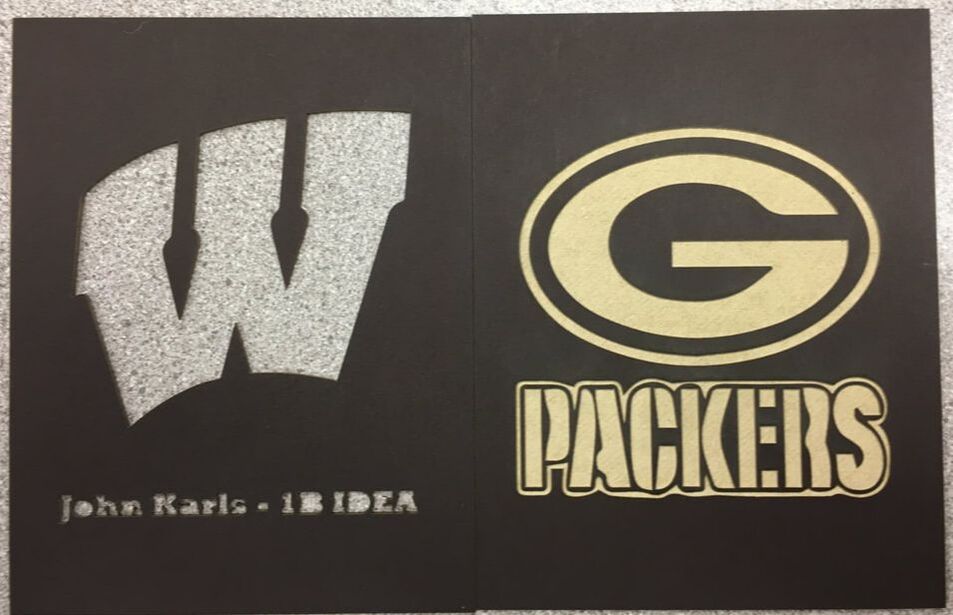
After it was done cutting/engraving, this was the final product of the covers without the notepad actually in it. One thing I would have changed was that I should have engraved my name as I forgot about the middle sections of the o, b, and d, but I still think it looks good.
|
WATER BOTTLE
|
This is the picture that is going to be laser engraved onto my water bottle. I originally had a different picture that I wanted to use, but when I image traced it it didn't line up right, so I went with this design choice.
|
|
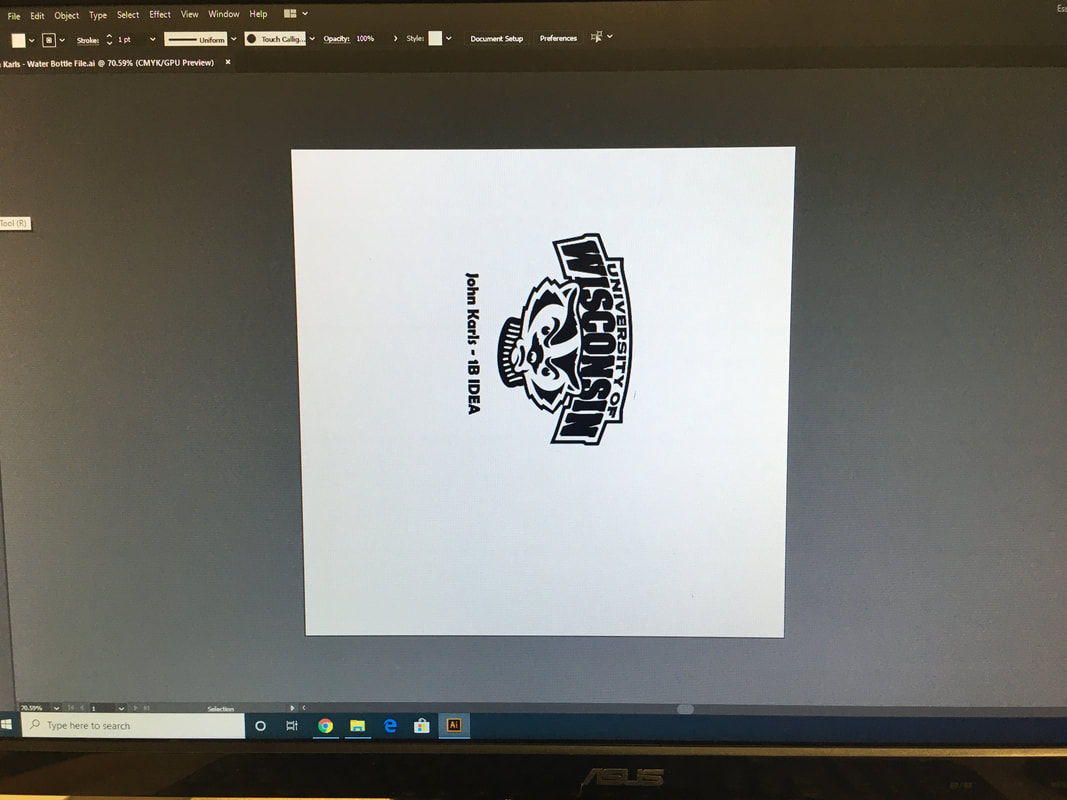
Setting up the file in Illustrator. You need to have it in this orientation because of the fact that since the water bottle is placed in the rotary jig like this, it needs to face this way in order for the design to be positioned correctly.
|
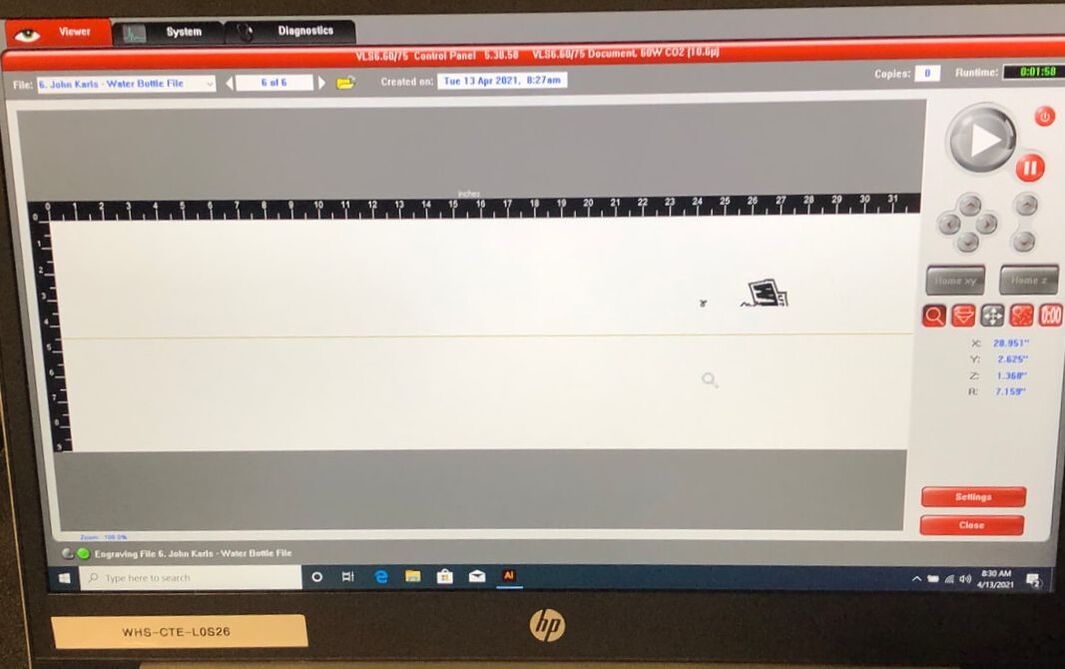
This is my design on the UCP program as it is getting into engraved into the water bottle. It only shows the portion of the water bottle that has already been engraved, so the full picture is not shown yet.
|
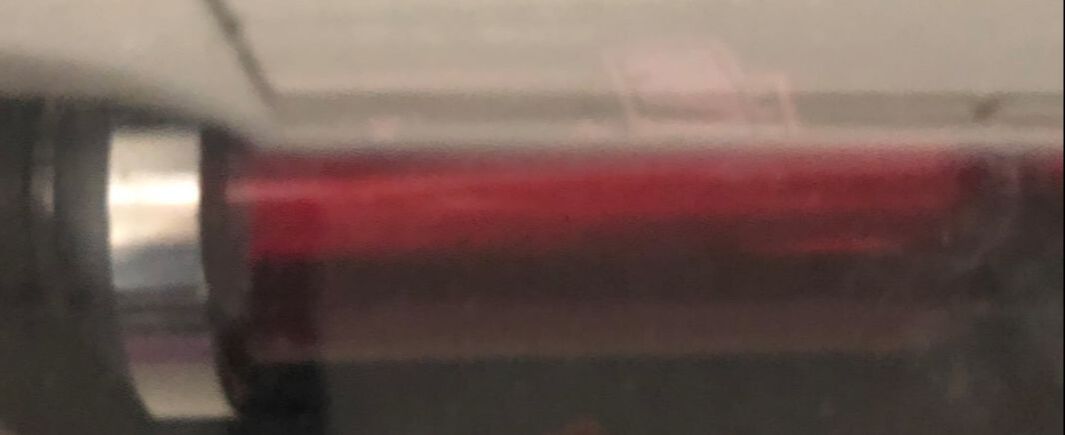
This is the water bottle getting engraved. The engraving looks pink because of the speed being too fast and the power not being high enough, so it doesn't result in the silver showing.
|
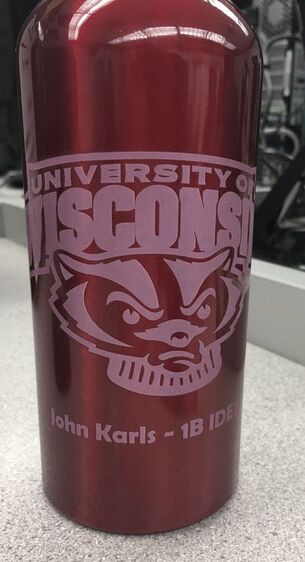
Final Picture of the Water Bottle
|
Final Summary
What I learned from this unit is a continuation of the last one, but I further continued my learning as I learned how to engrave a curved surface, the water bottle. At first I had no clue how the rotary jig would be able to have the water bottle be printed correctly, but after getting a demonstration, I realized how it worked. I also learned how to use a wider variety of materials in the laser and how they differ in the way you need to engrave/cut the material.
