
Initial Ideas
For my Final Project, I had multiple ideas that I possibly wanted to do, like building a computer, a model car, a farm sign, or a wood/LED sign, but eventually I chose to do the wood/LED sign as I think it will expand my knowledge on electricity and will be a cool project.
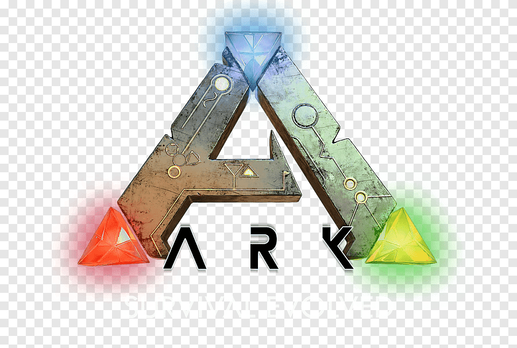
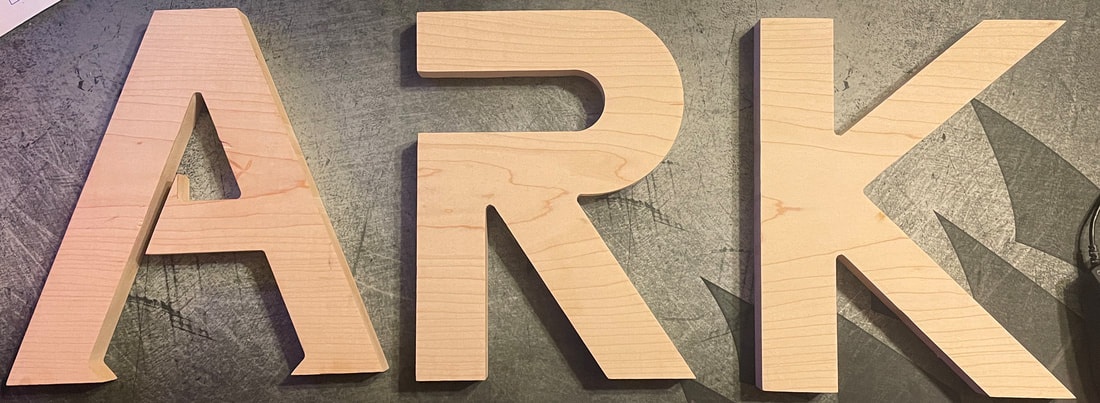
Example of a ARK Wood/LED Sign
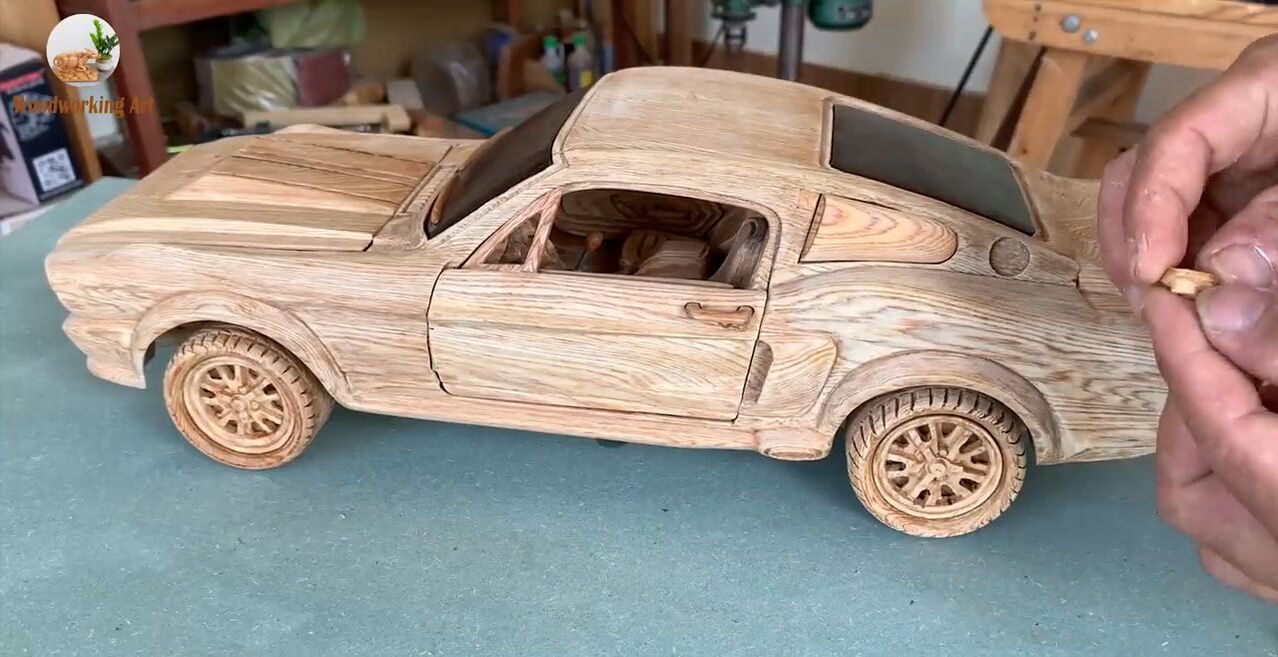
Example of a Wooden Model Car
|
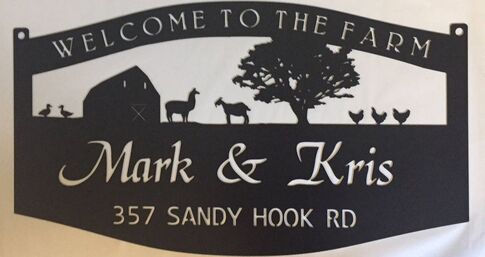
Example of a Farm Sign
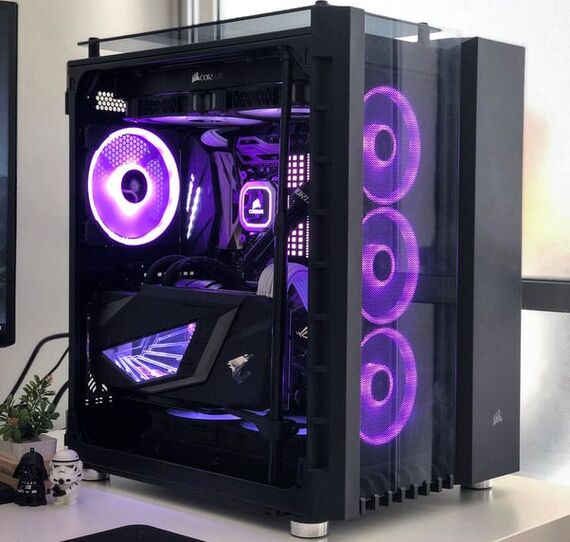
Example of a PC
|
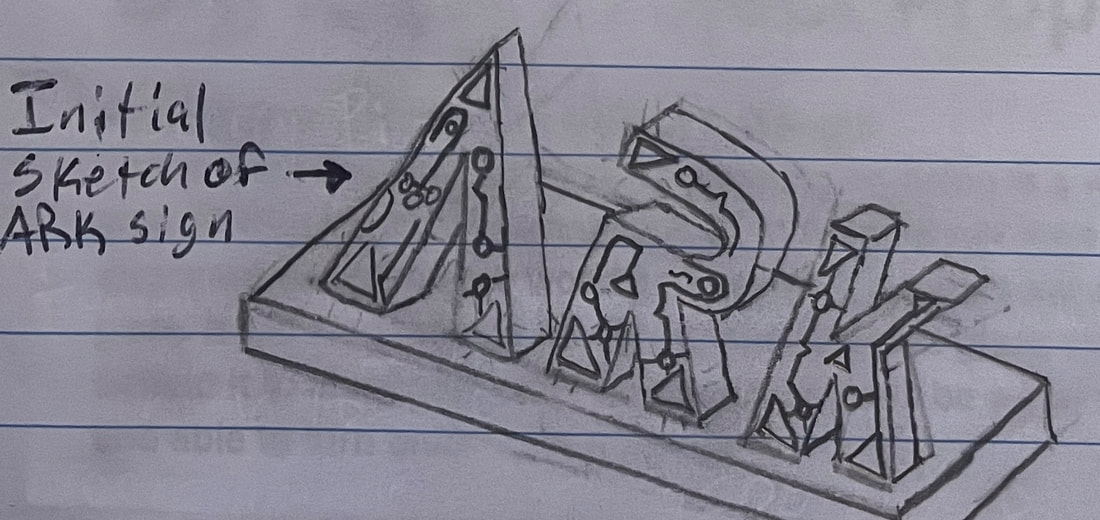
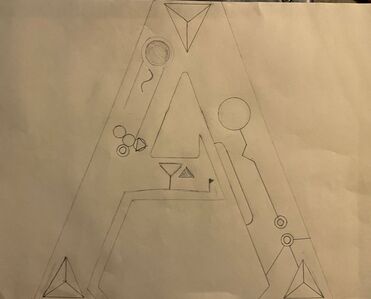
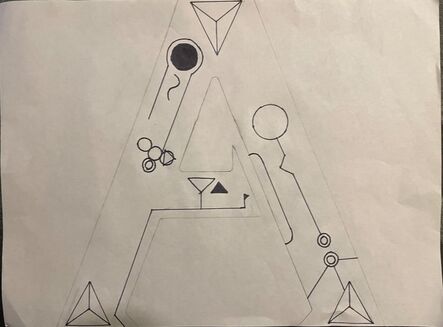
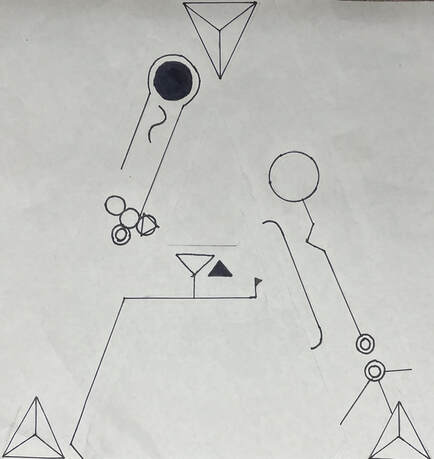
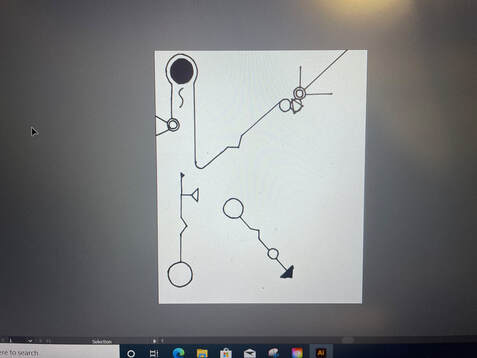
Initial Sketch of Final Project
|
After long considerations, I decided to do the ARK Survival Evolved Wood/LED Sign as I have a passion for woodworking and ARK as well as I will be able to learn how to electricity and other intricacies associated with this project. Below I drew an initial sketch of my project as it doesn't technically exist, but I would love to create something on my own. I may have to make some changes to it later on as I am not quite sure if I have the abilities to do all of these tasks, but I will see.
|
|
Creation of the Ark Letters/Base Plate
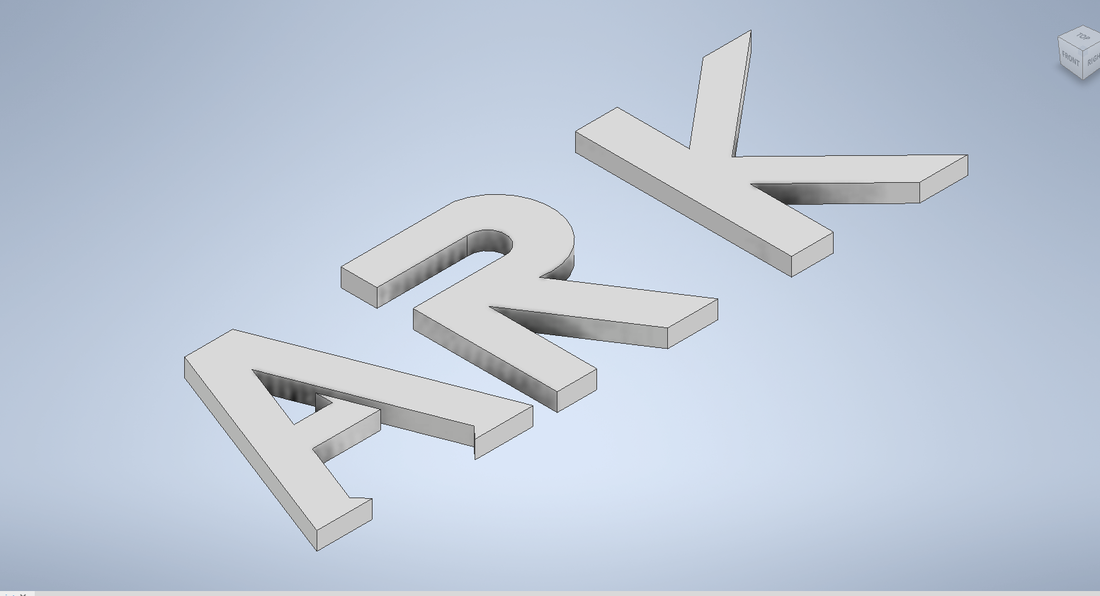
To start out, I decided to create my ARK letters in Inventor to eventually transfer into Fusion for the CNC router. First, I designed what the letters would look like in Inventor and making sure that they fit the dimensions of my board, which was 3/4 inches deep and 9 inches tall. I also had to make sure that they were all the same height, but they could vary in width to fit the best shape of each letter.
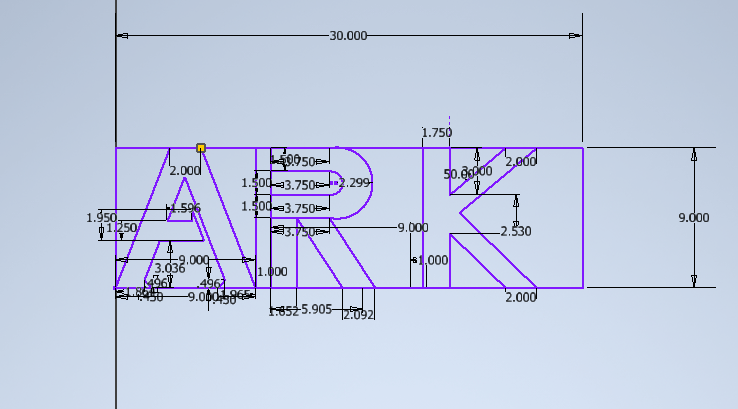
Using Inventor, I was able to create the outlines for each of the letters by creating 9 in by 9 in boxes, and then creating each of the letters inside of each box.
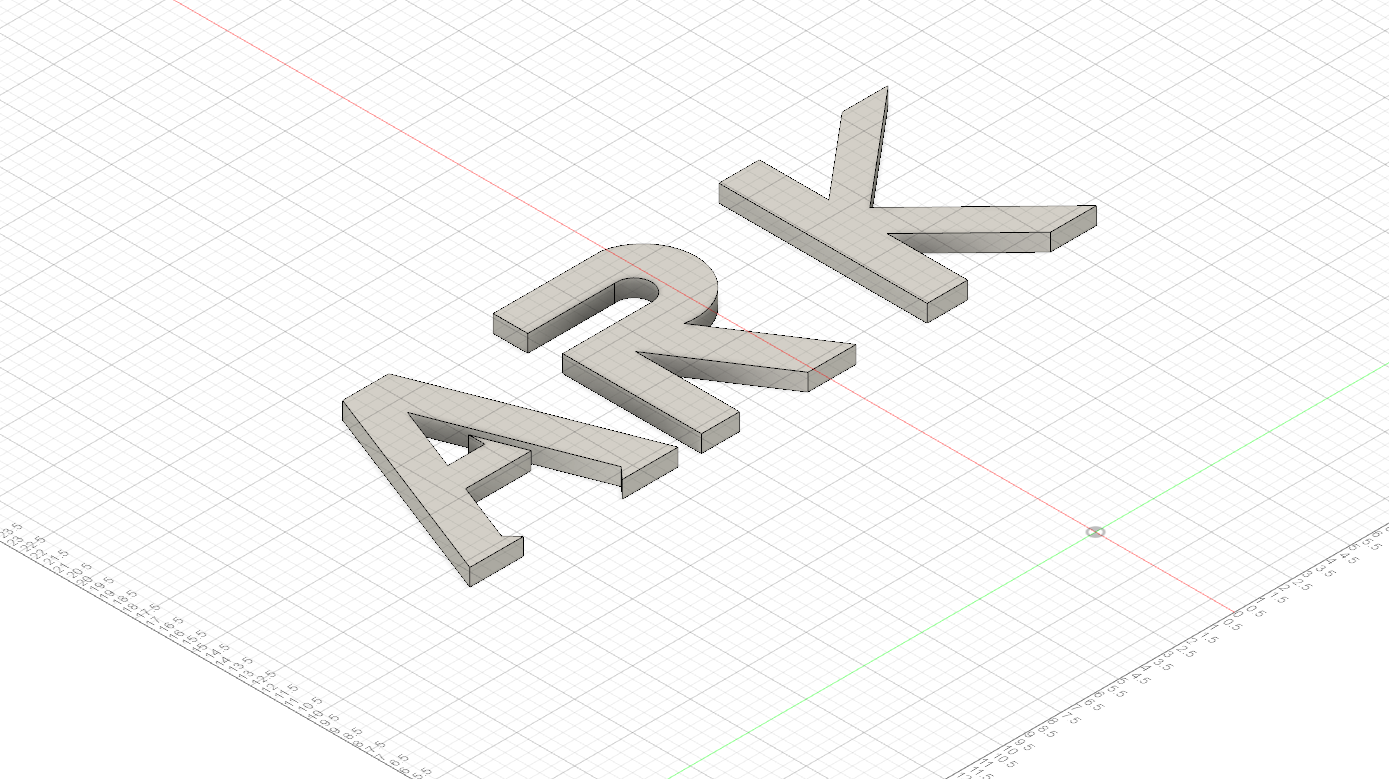
After sending my design to Fusion, I had to move it around and make sure it was lying flat in order for the file to work correctly. If I hadn't had done this, it wouldn't have turned out how I wanted it to be.
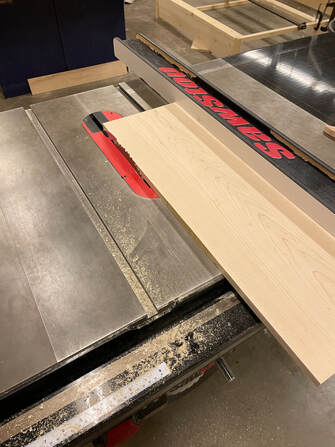
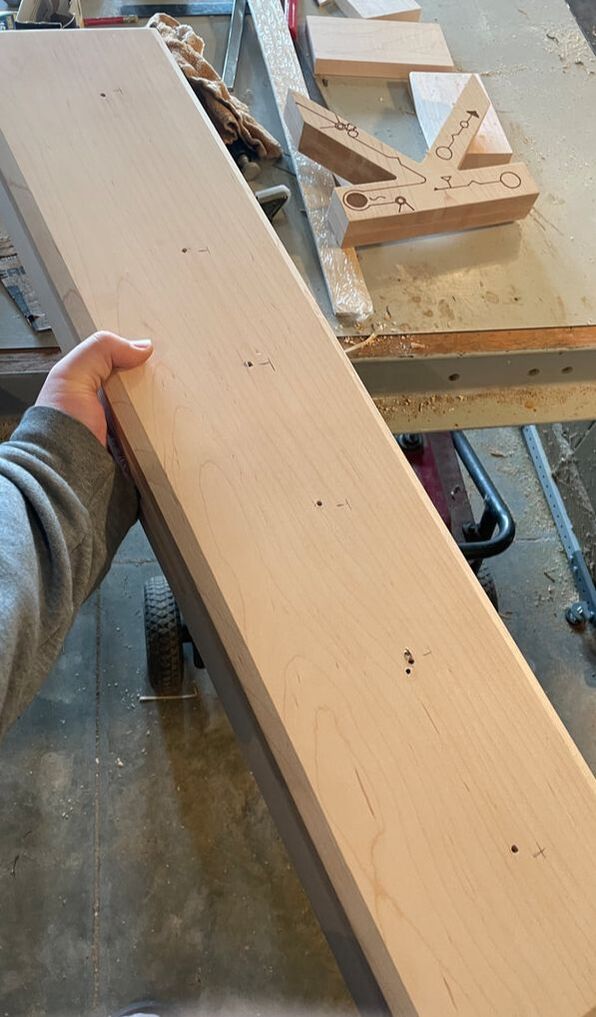
Using the table saw, I was able to cut my rough-cut boards to the finished width for my ARK letters/base plate.
|
Next, I extruded my letters so that I was able to send the file to Fusion in order to create a Fusion file for the CNC router.
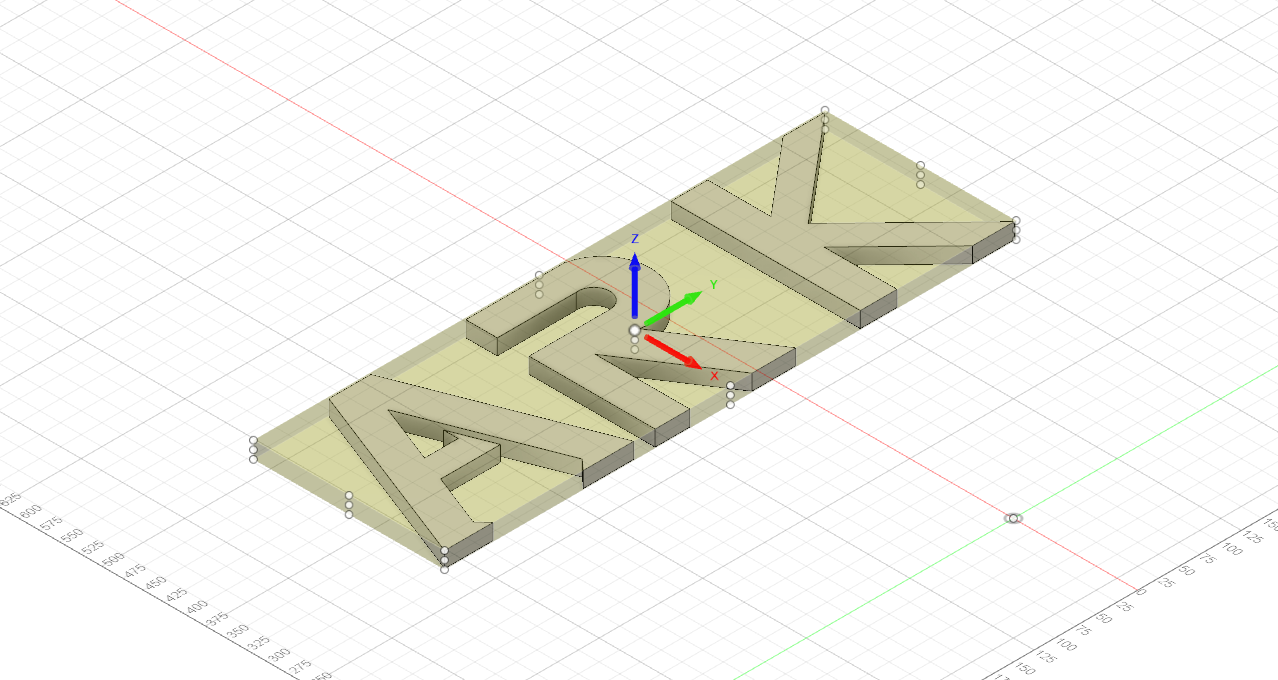
After that, I had to make sure that the Fusion file recognized the pieces that I wanted, so I had to make a fixed sized box around my letters, and then I had to add in the router path so it would then know where to cut.
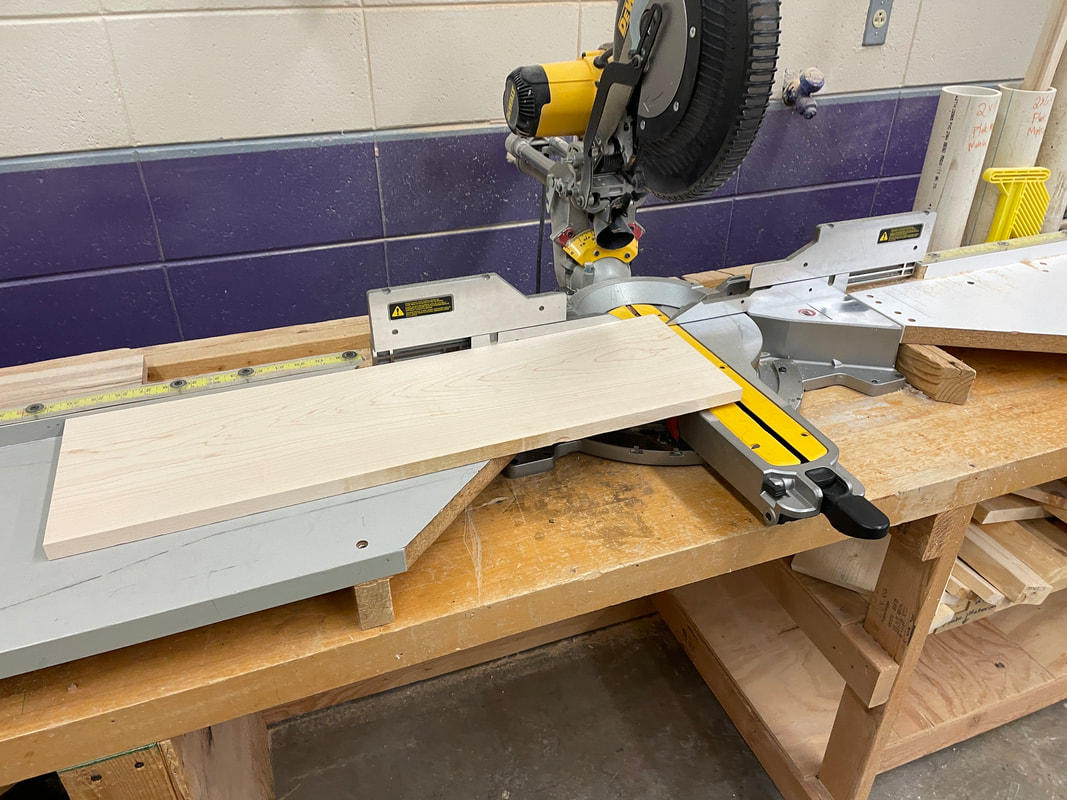
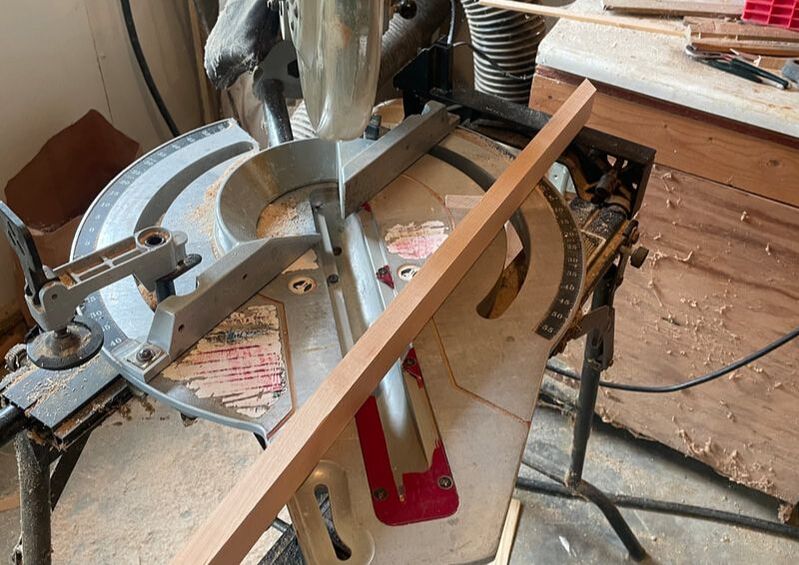
Using the Miter Saw, I was able to cut my boards for my ARK letters/base plate to the right length.
|
Using the CNC Router
I decided to use the CNC router to cut out each of my letters because it would be very precise when cutting them out and that I have never used it before, so it would be good to learn how to use it. After uploading my Inventor file as an STL file, I was able to input it into Fusion in order to create the file that the CNC router could read.
Mr. Willauer helped me out with using the CNC Router by screwing down the material so that it wouldn't move when the CNC router was cutting through it.
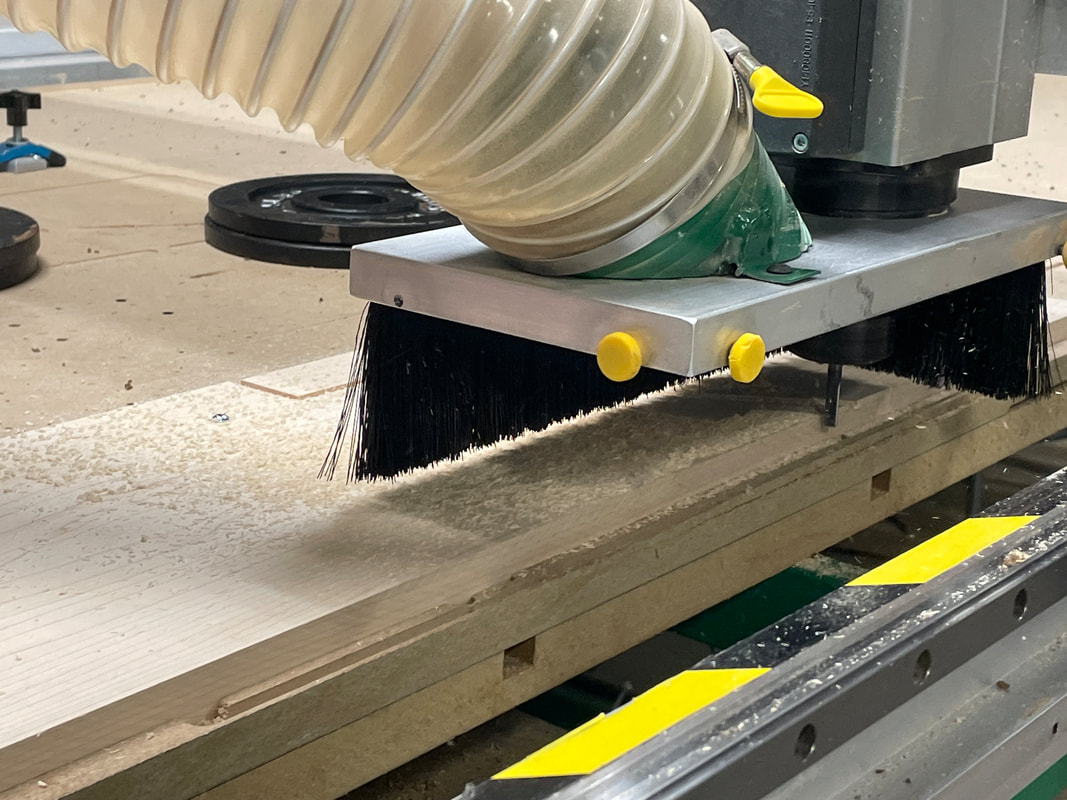
The CNC router making its first passes for my letters. Originally the spin speed for the CNC router was too fast for maple, so initially it broke. After replacing it, we reset the spin speed so that it wouldn't break again.
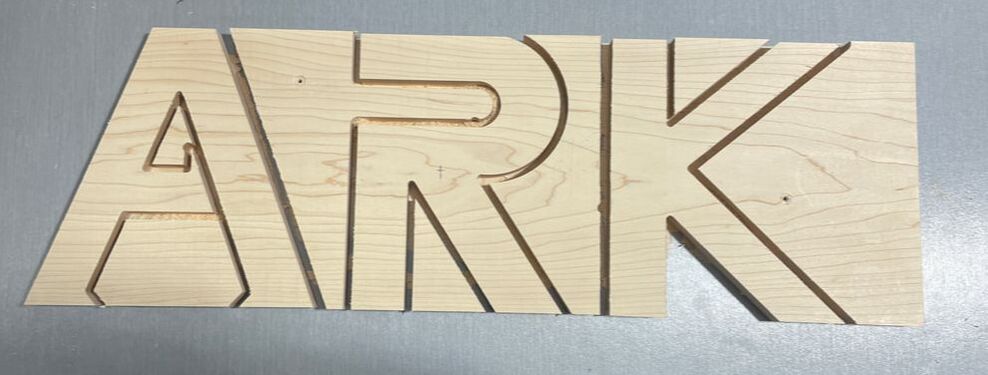
This was the letters after the CNC router had completed the file. Because the wood was rough cut, it wasn't exactly level all the way across, so some parts of the wood were not cut through, in which I had to use a bandsaw to finish cutting through the letters.
|
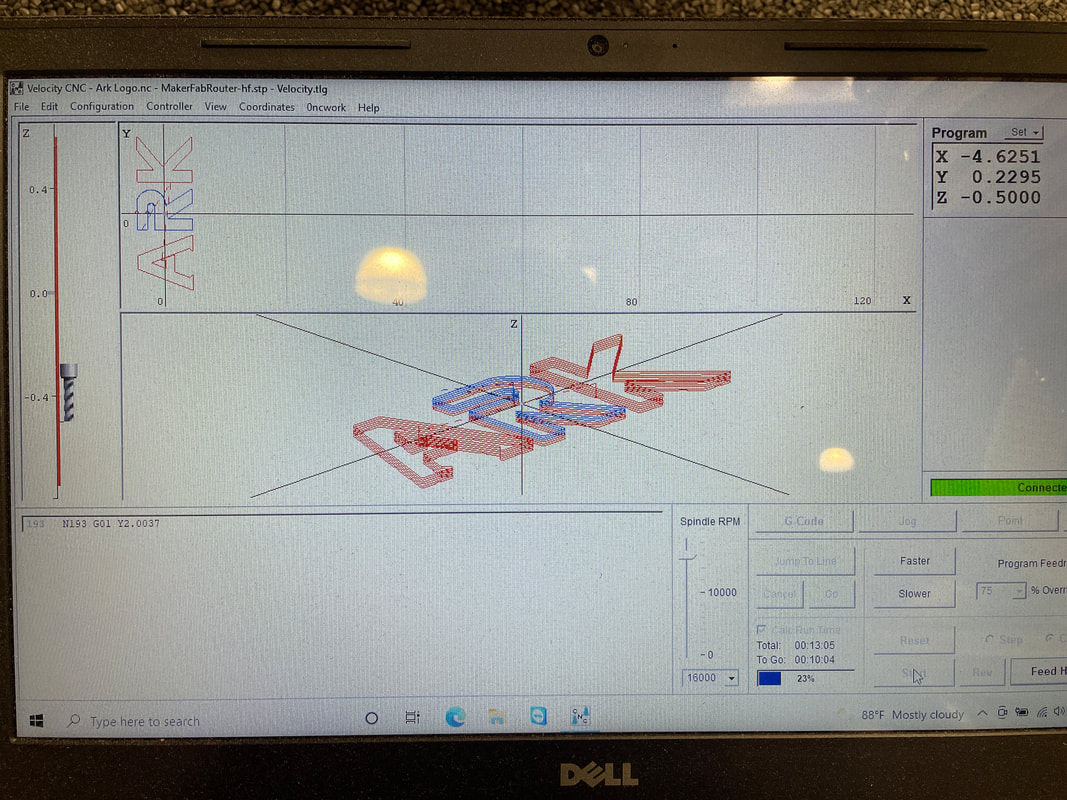
With the software that the CNC router uses, I could see the current progress and location of the router bit as well as recalibrate it if necessary. I was also able to use this software to move the CNC router around as well.
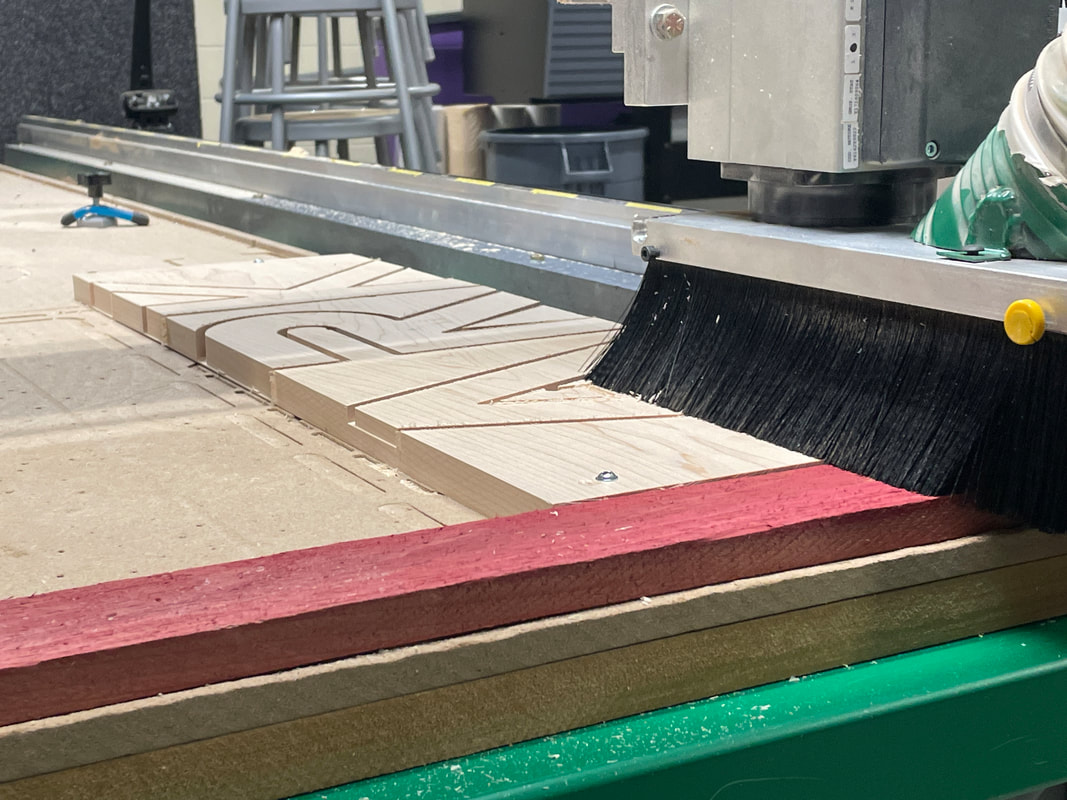
This was the CNC router at about the halfway mark for the router process. Overall, it was going great but there was a bit of dust that I had to clean up as it went around.
After a lot of sanding, this is how the letters turned out. It took a lot of sanding to remove the small tabs and extra materials, but eventually I got them to be smooth. It was also a bit difficult to sand inside the letters.
|
Creating The Laser Engraved Design
|
First, after using the CNC Router to cut out my letters, I traced the letters onto paper so I would know the outline of them and so that I wouldn't have to painfully dimension them to figure out the outlines.
|
|
|
Next, I used sharpie to highlight the lines I wanted, and then erased the pencil so that Illustrator would be able to pick up which lines I wanted. This was to make sure that when I uploaded the picture to Illustrator
|
|
|
After that, I erased all of the pencil lines to make sure that Illustrator didn't pick them up when I uploaded it to Illustrator. I also had to make sure that I didn't have any shadows when I took this picture as Illustrator would have recognized it and made a black blob out of it.
|
|
|
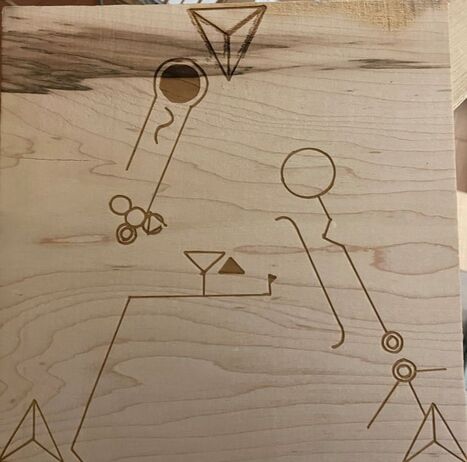
Finally, using Illustrator, I took the pictures I took of each of the different letters and image traced them and edited them to be what I wanted to laser engrave onto my letters. I then uploaded all three of the design onto my flash drive so that I could transfer them to the computer next to the laser.
|
|
Using the Laser
After uploading my Illustrator files onto the computer by the laser, I was able to start laser engraving my designs onto my letters. Initially, I had a bit of struggles as with the process of drawing each of the designs, then uploading to Illustrator, and then transferring them onto my pieces, they were a bit distorted. I overcame this by resizing them and guiding the laser around my pieces to ensure that the designs were exactly, if not as close, as they could be to where I wanted them.
This was my first test piece for the laser. This was the moment where I realized that the engraving was disproportionate to my letters, so I had to adjust each one to a custom size. It wasn't a huge deal, but it definitely did slow me down a bit when it came to using the laser.

This is the second letter in the laser, and it was about 1/3 of the way done at this point and it looked great and also everything was lined up fairly well.
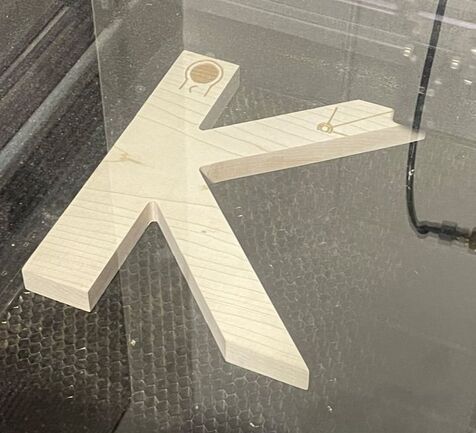
This is the third and final letter being engraved, and I was most worried about this one as it had the sharpest angles and that it had a curved piece that went from the top left section to the top right, and if I got that misaligned, it would ruin the look of the letter.
|
This is how the first letter turned out after using the laser. Overall, I think it looks amazing and I am really excited to see how all of the other letters will turn out.
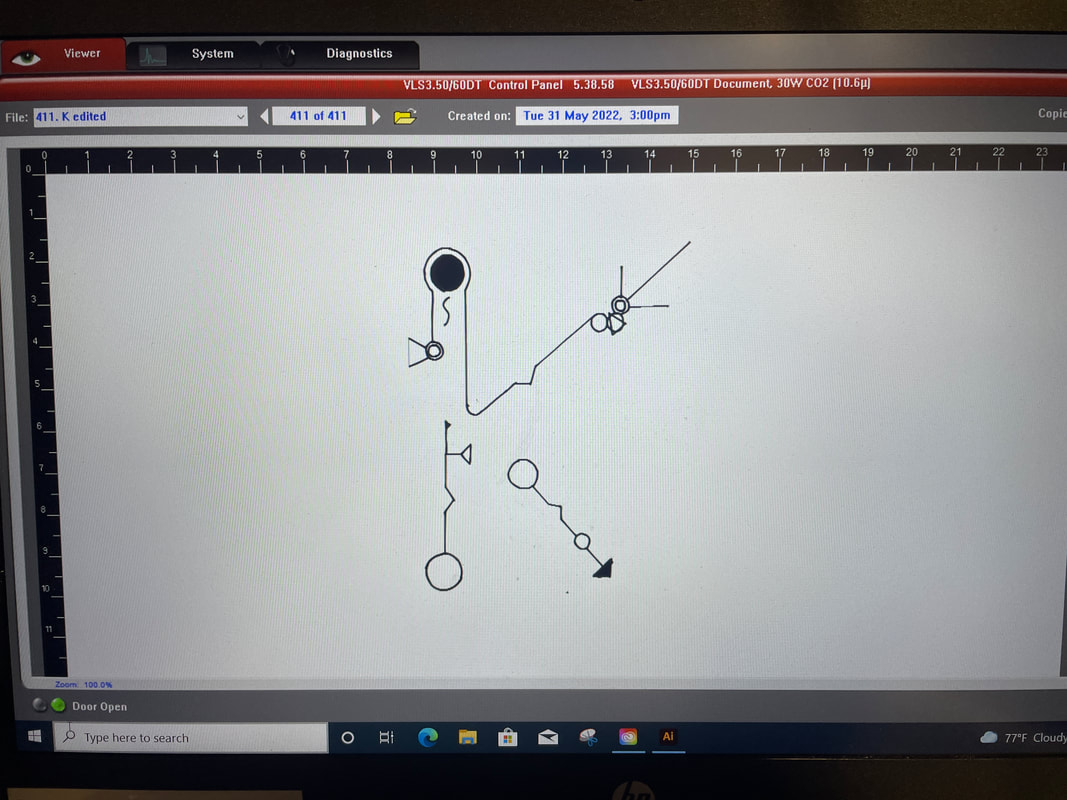
This is how I was able to get the laser to engrave my letters, in which I had to print, or upload, the Illustrator file to the UCP program, in which I would position this design on this screen to match up my piece in the laser.
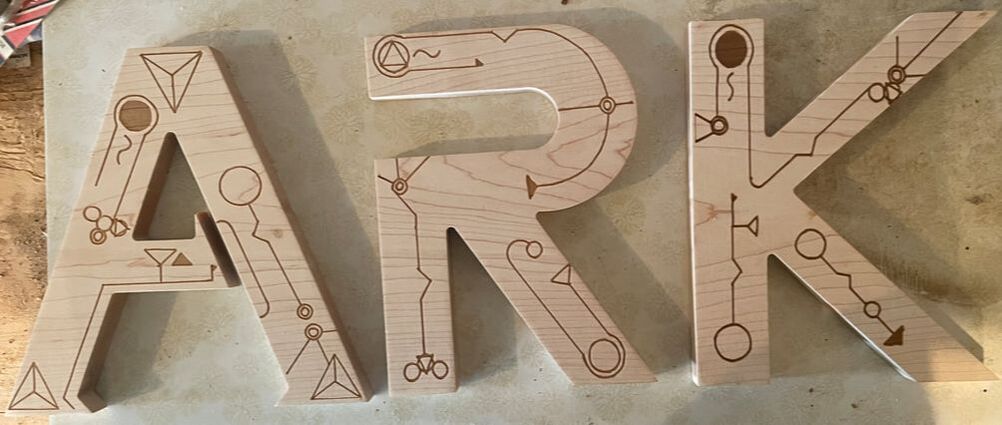
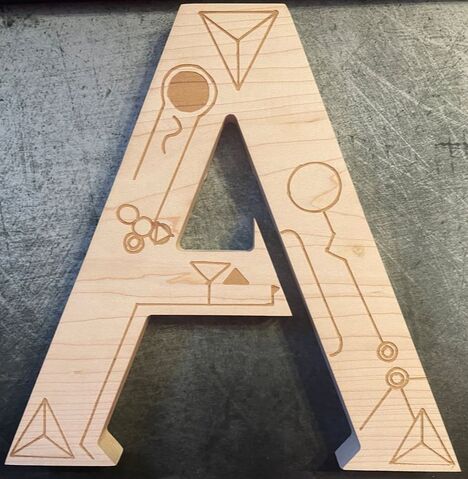
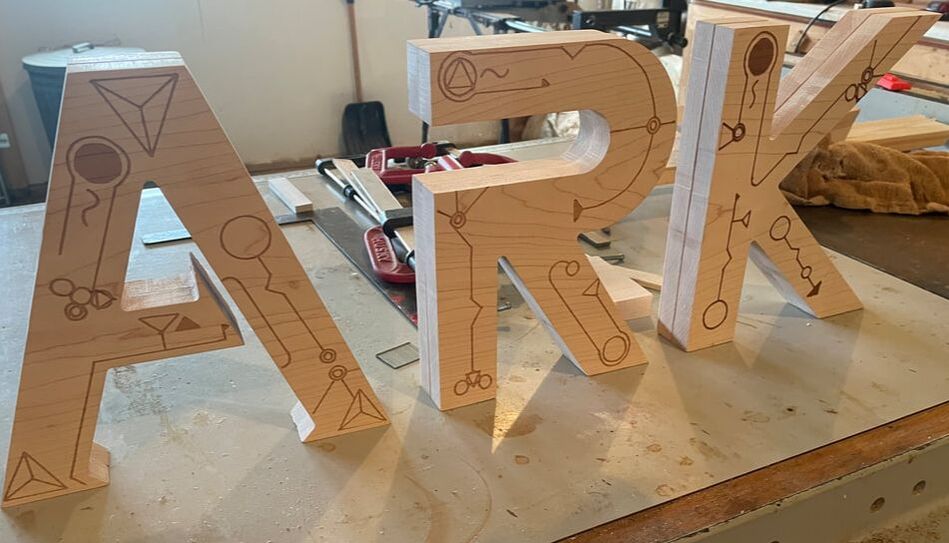
Here is the final picture of all of the letters with their engravings. Overall I think that this turned out amazing and that they all look really clean, but also have some minor flaws, like dots at the intersections of lines from the sharpie. For me, this makes it look more natural to the eye an d have a softer look to it.
|
3D Printing a Plaque
To add to the total aesthetics of my project, I decided to 3D print a plaque to glue onto my project. I wanted to put the entire title of the game, "ARK: Survival Evolved" to have people understand what the A, R, and K means for this project.
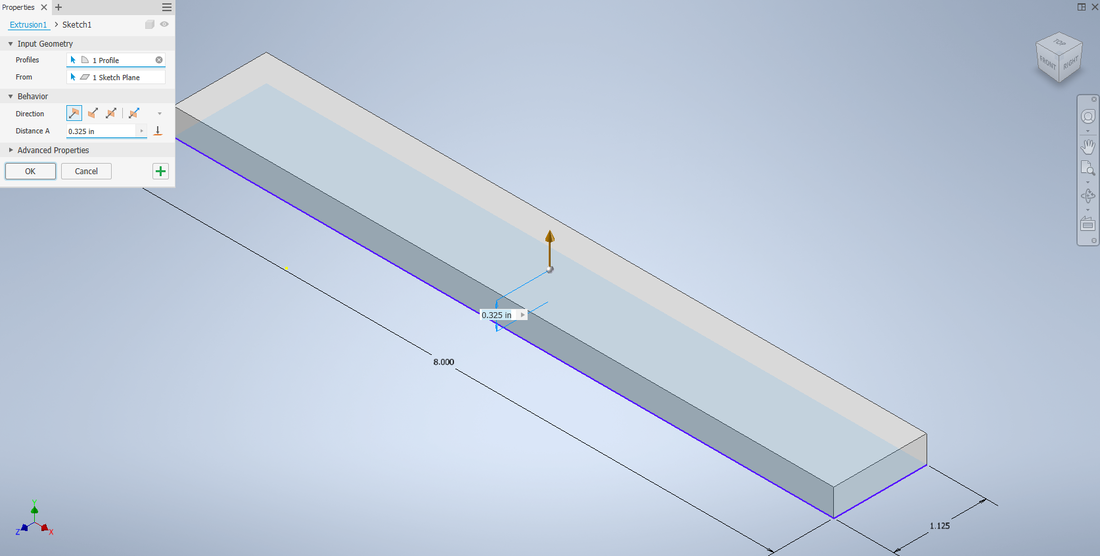
First, I made a small box that was a 1 by 8, which would be the base of the plaque. I also made it 3/8 inches thick, so not too large of a plaque as I didn't want to distract from the project but add to it.
After extruding the letters to give a nice profile, I then added a small chamfer to the edge of the plaque to ensure that it would not only have a smoother and stronger edge than a sqaure edge, but also add a bit to the overall aesthetics of the plaque.
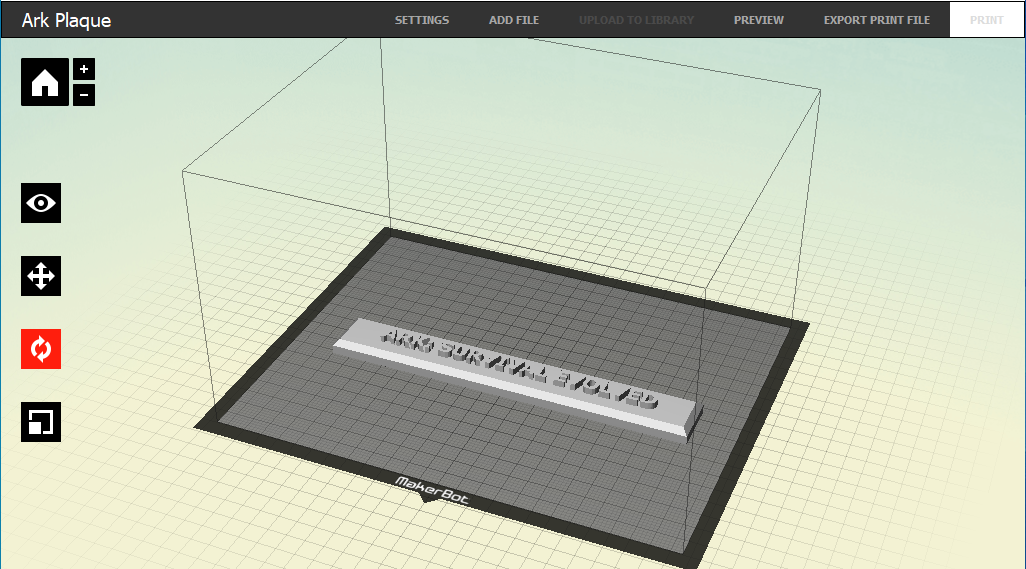
Next, I uploaded it to MakerBot to be able to create a MakerBot file for the printer to be able to recognize and print.
|
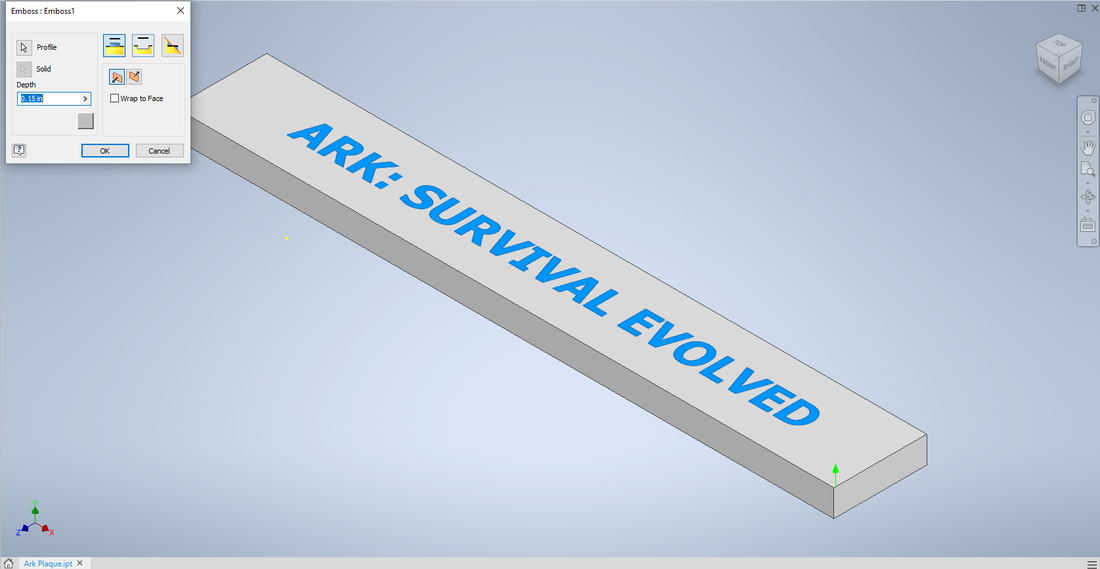
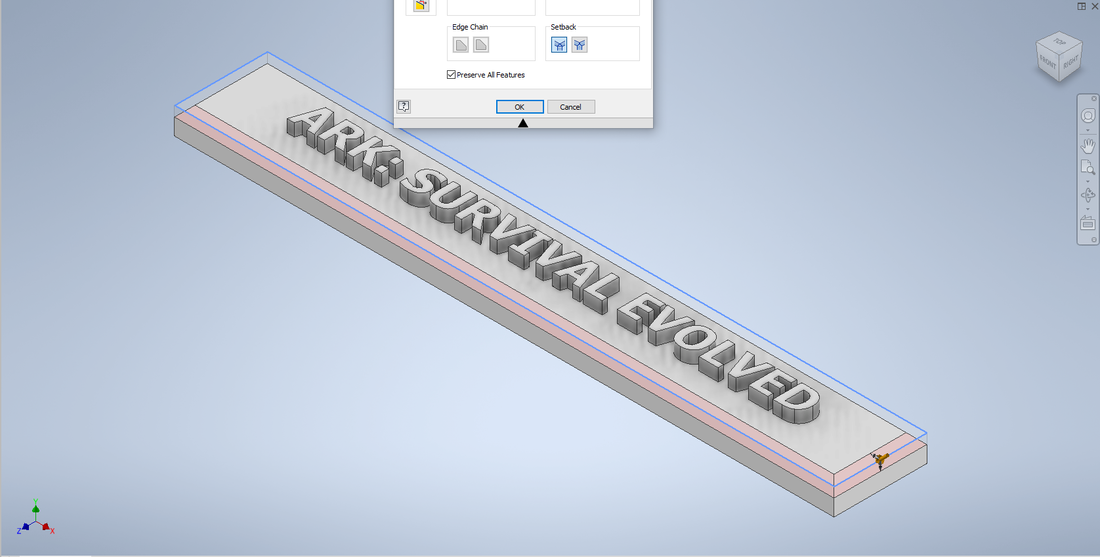
Next, using the emboss tool, I was able to write the text I wanted onto the plaque. I had not known of this tool before starting Big IDEA, and I wanted to make a plaque like this, so I researched how I could type letters instead of making each individual one, and that's how I found out about the emboss tool.
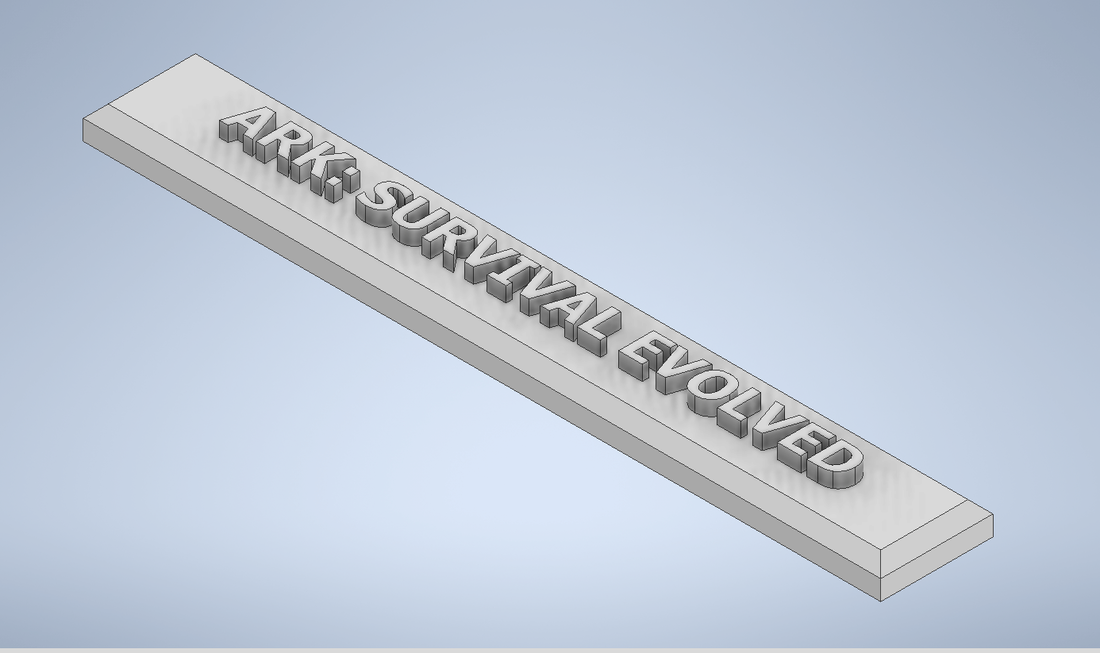
This is the final plaque design in Inventor.
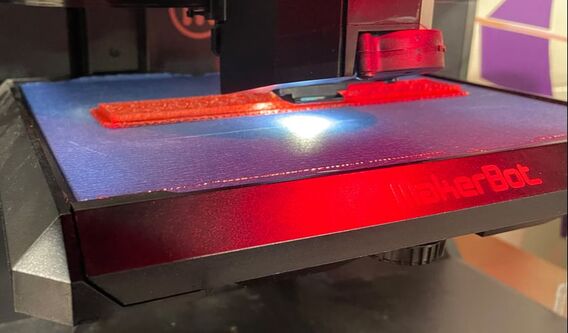
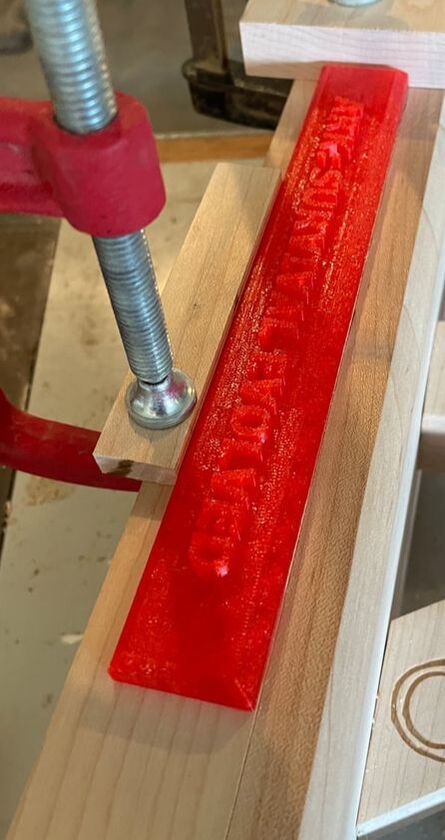
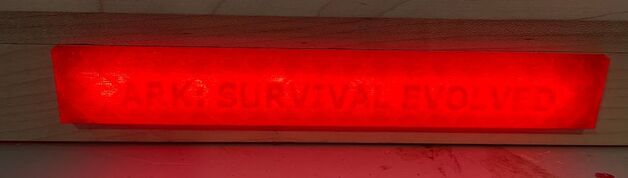
This was the plaque being printed on the 3D printer. For my filament, I decided to use a red, translucent filament that Logan, a classmate of mine, had brought in for his project. At the current time, I didn't think much of the translucent part, but as I kept working, I was trying to figure out how to incorporate it into my project.
|
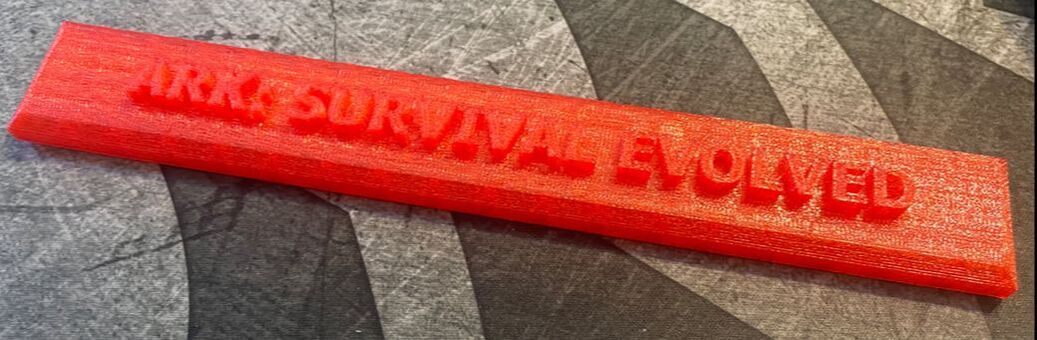
Final Printed Plaque
Final Assembly
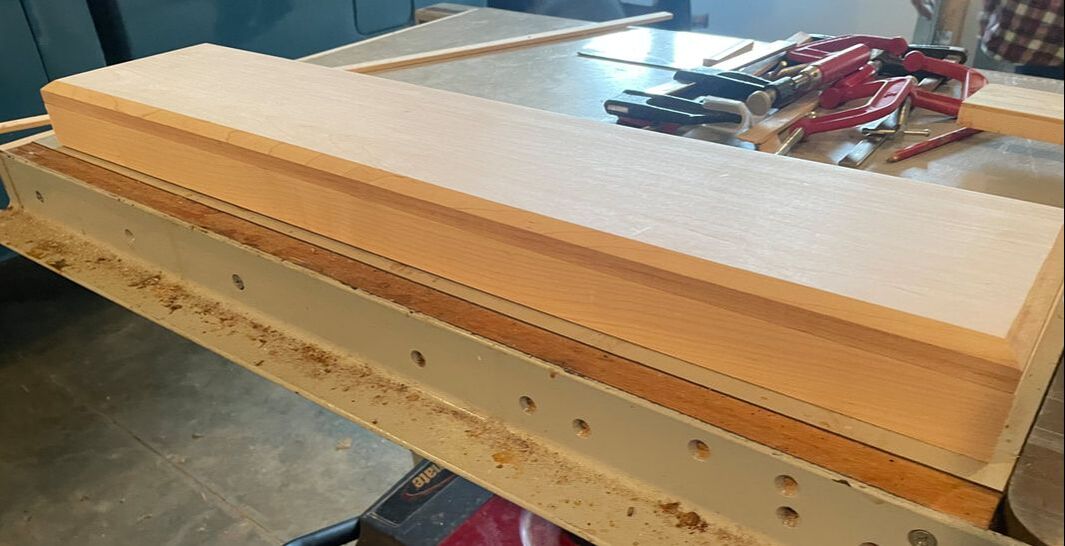
Assembly of the Base Plate
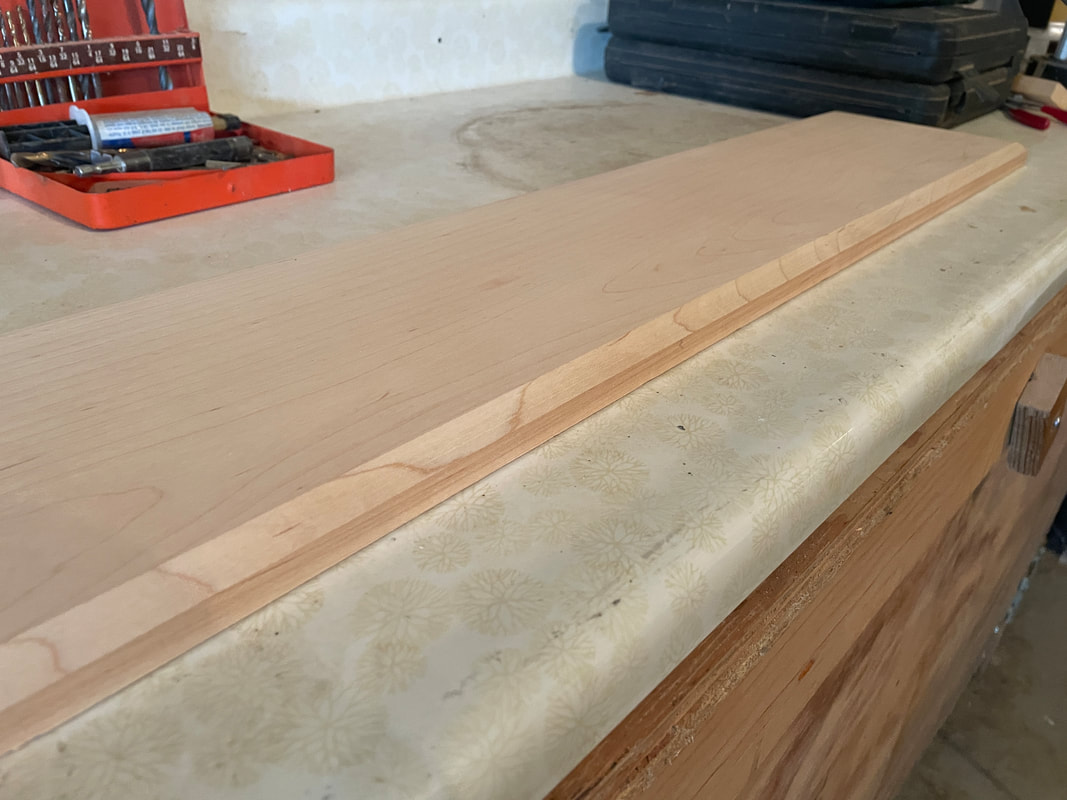
After using the router, this is what the top part of the base plate looked like. I used a chamfer bit to match the plaque and that I think that it would look the best on my project.
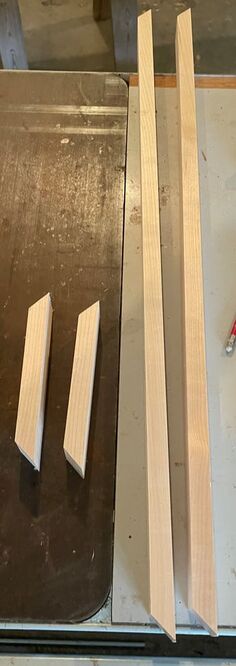
This is what the different pieces looked like after cutting them to length with the compound miter saw.
Next, to attach the top piece of the base plate, I applied wood glue to attach it as if I used nails, I might have had the chance of it splitting out when nailing into the chamfer.
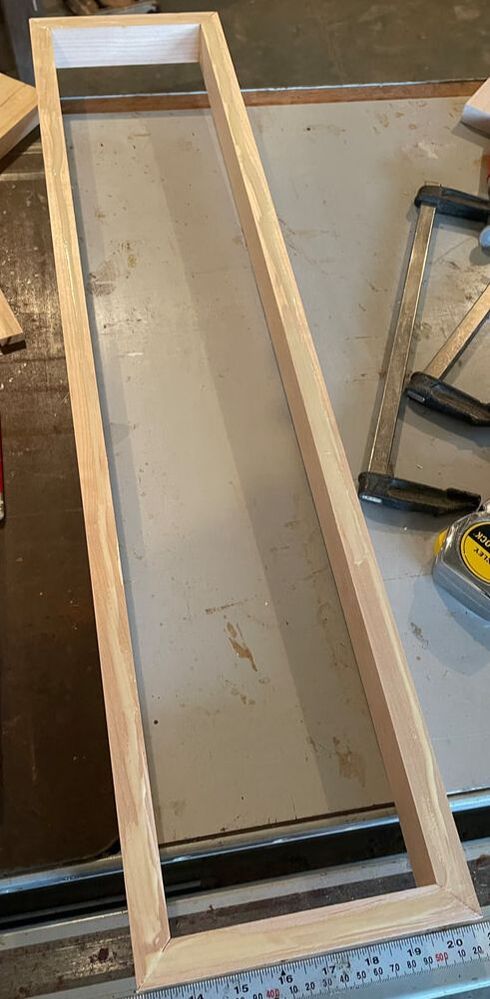
This is what the base plate turned out like after it had dried.
After that, I used a saber saw to cut the channel into my base. When I cut this channel, I had to make sure that I was cutting straight as I wouldn't want the track to be crooked.
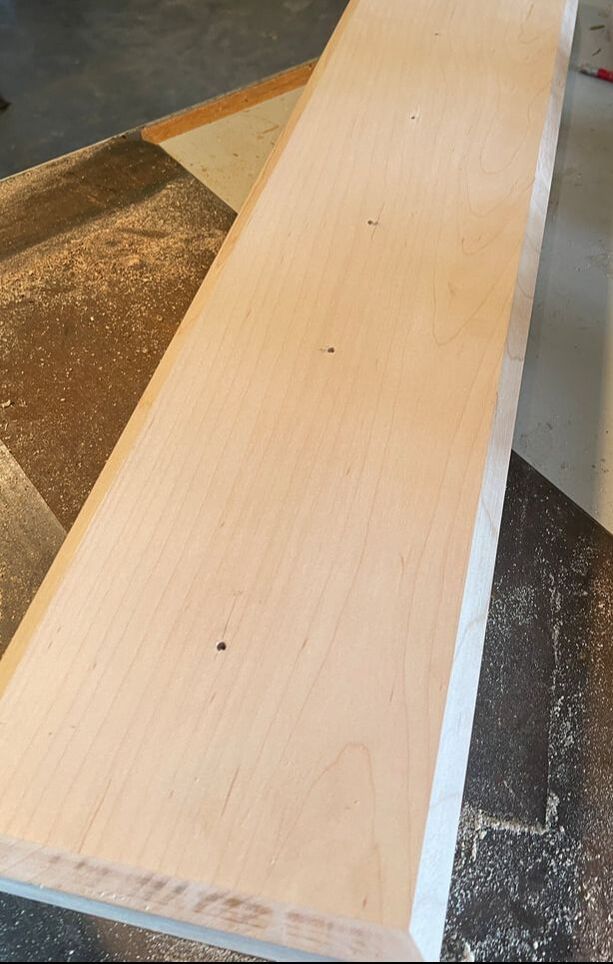
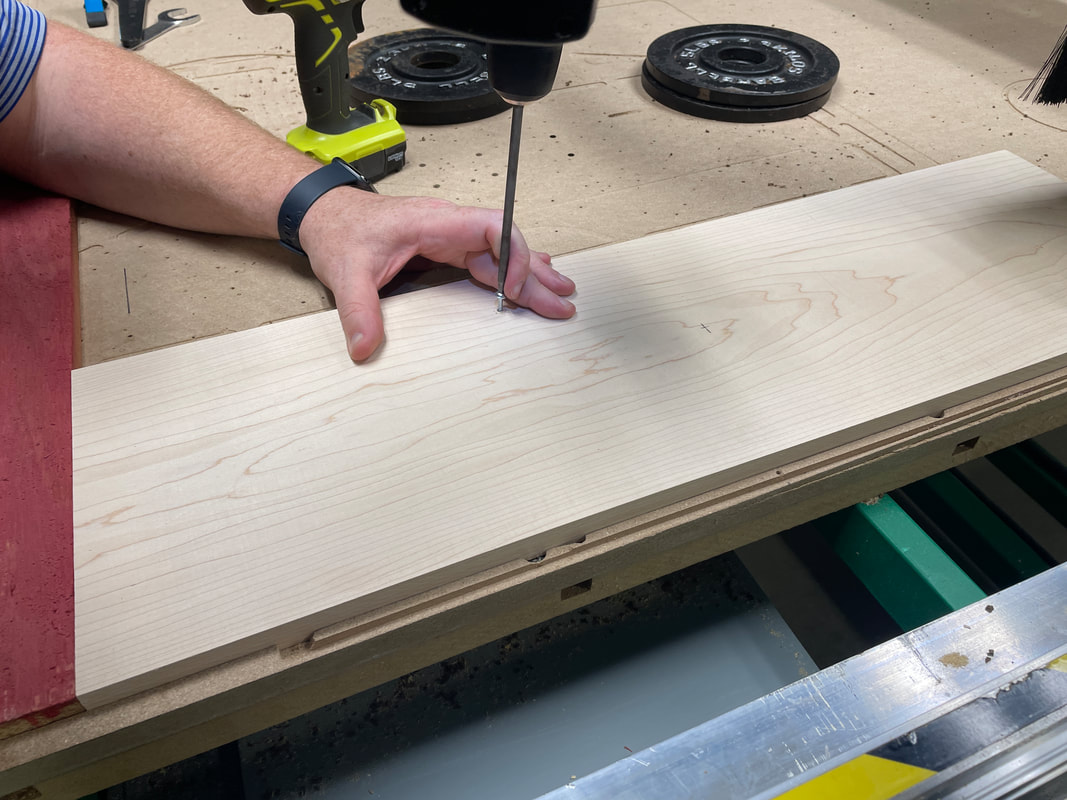
Next, I measured out where the letters would go, and drilled some pilot holes for the screws to come up through the bottom and hold the letters.
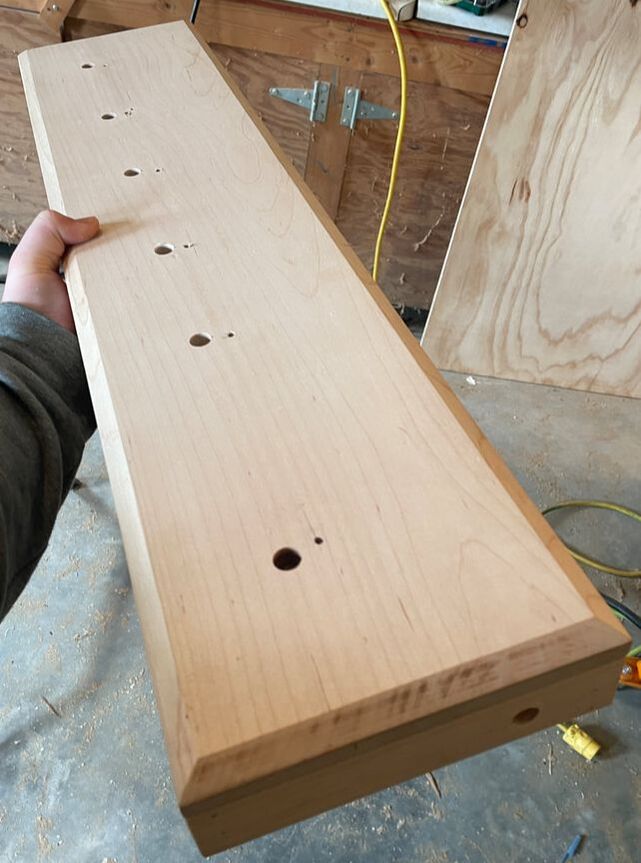
This was how the holes turned out for the LEDs. I also added another hole on the side of the base plate to route the wires from my switch into it, which turned out great as well.
|
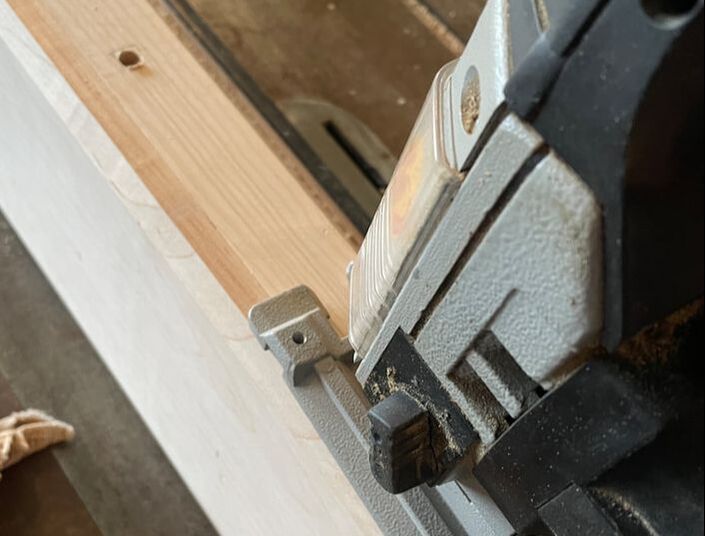
To create the bottom portion of my base plate, I took some 1 by 2 maple and cut 45 degree angles with a compound miter saw.
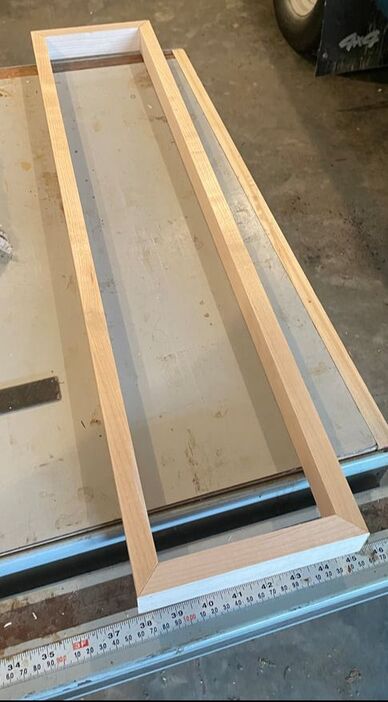
After clamping the pieces together and gluing/air nailing them together, this is what the bottom portion of the base plate looked like.
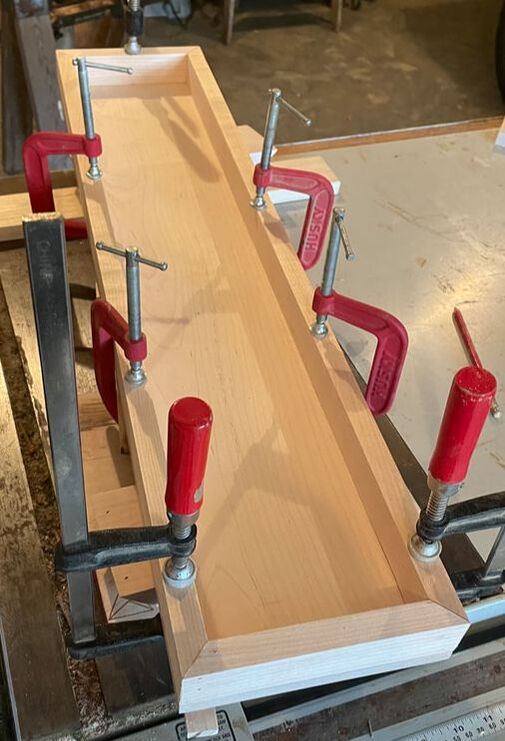
Using clamps, I was able to attach the top of my base plate with high accuracy and make sure that it wouldn't move around when it dried.
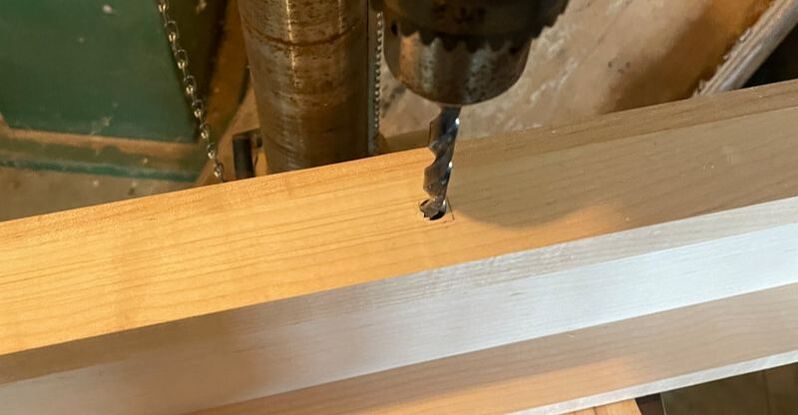
Next, I got an idea to route LED lights behind my plaque as the plastic was translucent, so light would be able to shine through it. With this in mind, I had to create a channel into my base. I first did that by drilling holes into my base plate.

This is what the channel looked like after cutting it with the saber saw.
After drilling the pilot holes, I then marked out where the LED lights would come out from the base.
Finally, I used super glue to apply my plaque on top of the channel that I had cut out, making sure to apply a lot of pressure and to make sure that when I applied it that glue didn't spill out. I also made a jig to ensure that I wouldn't have any error when mounting it.
|
Assembling the Letters/LED Lights

To assemble the letters, I had to glue the two different layers together, and also use nails to strength the bonds of the letters. I also used clamps just to make sure that nothing moved when they were drying.
These are the letters after they had finished drying and had been nailed.

After the letters had dried, I used some blocks of wood to help hold the letters to be able to drill pilot holes into them. With these pilot holes, I would then be able to screw into them and not worry about snapping screws.
|
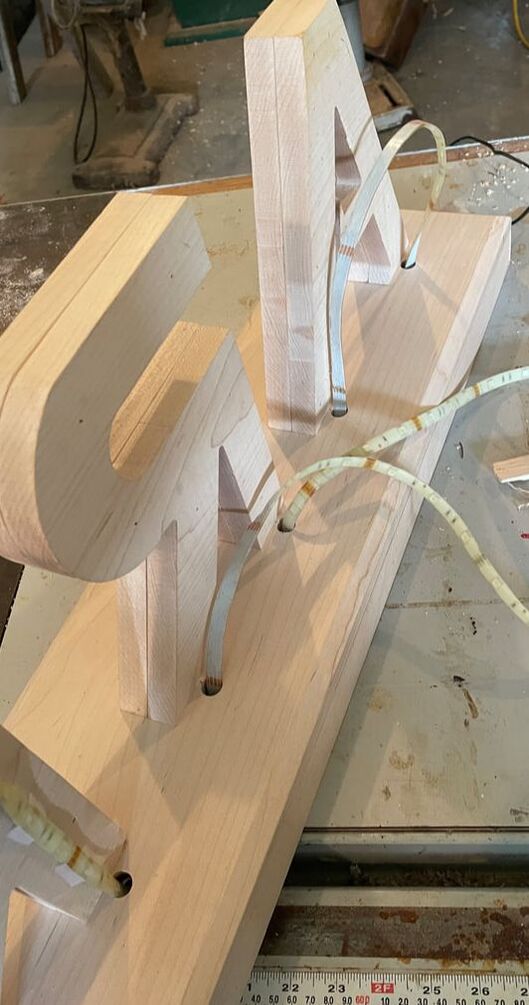
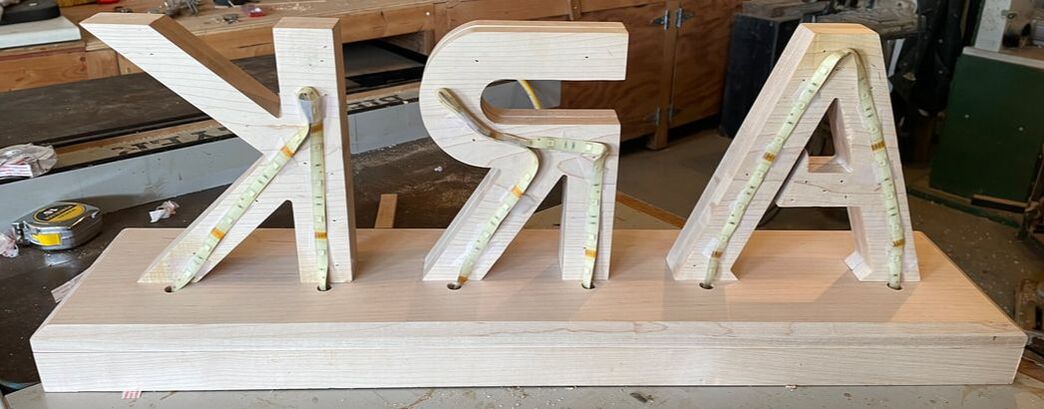
This is how the lights where threaded throughout the sign. They would come up the right side of the letters, be attached to the backside of the letter, and work their way to the left side of the letter to go back down.
After attaching the letters, I then routed all of my necessary wires and lights around the space below my base plate to line up for threading the lights.
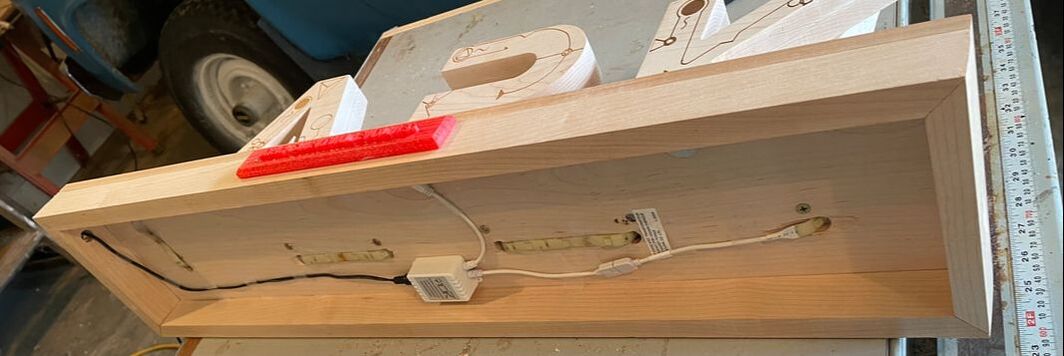
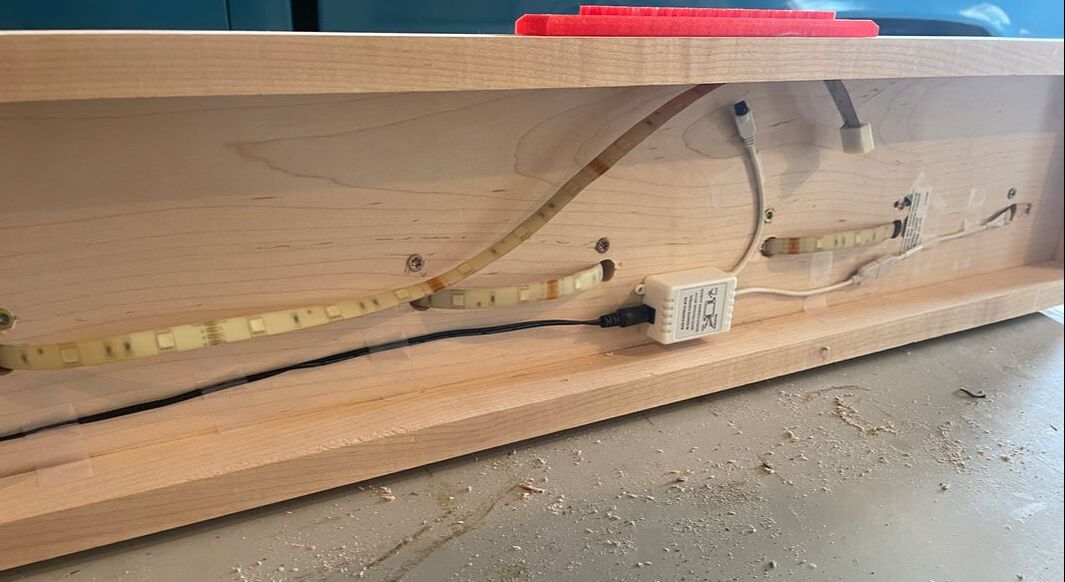
This is the final wiring from the bottom view. I tried to make it as organized as possible so if I needed to come in and replace or repair something, I had ease of access to all of the parts.
This is what the wiring looked like from the back side. I didn't go up all the way on some of the letters because the wire was not very easy to bend, so it would have been very difficult to do that. It still should turn out good.
|
Finalized ARK Sign
|
|
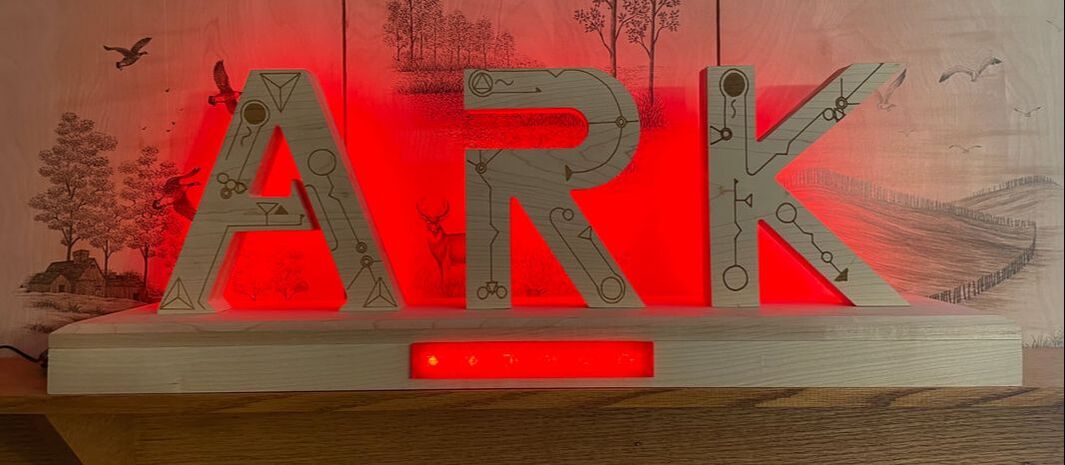
This is how my ARK sign turned out. Overall I think it looks amazing and I love how not only the letters have the ambient light behind them, but also that the plaque lights up as well. This is a picture taken during the day, so the lights are not as pronounced.

|
|
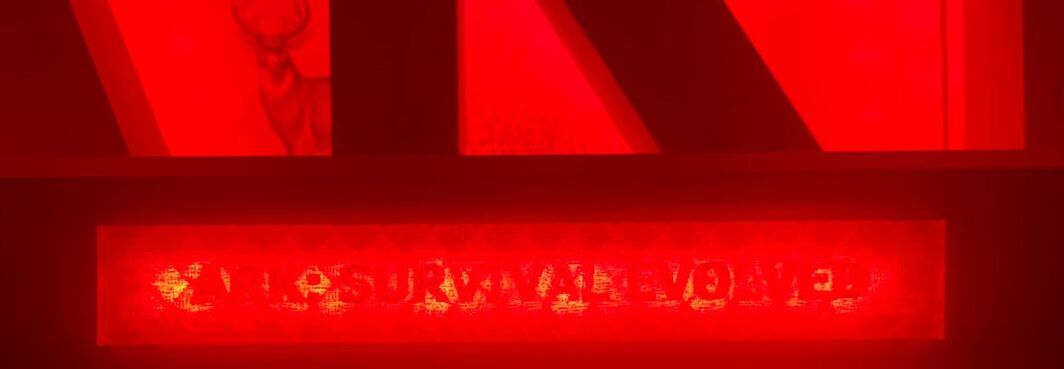
This is a picture of my ARK sign during night. I think during the nighttime it makes it look even better.
Final Project Summary
Through the creation of this project, I have learned a lot of valuable skills. From this project, I learned how important time management and how you should always have some sort of a plan, even if it is a rough idea like it was for me. For time management, I definitely think there were times where I could have used my time better or more efficient, but I don't regret what I did because I was still using all of my time to work on Big IDEA assignments. I think this project really helped me funnel my creativity to combine it with my previous woodworking and building skills to create something not from an instruction sheet, but out of my own mind. Finally, this project made me realize how if I put my mind to something, I can achieve great things with dedication. In conclusion, I really loved this class and the diversity that it has offered, and the experiences I was able to gain from it.
Note for Students currently taking Big IDEA or planning on taking it: I would say to anyone reading this, definitely take this project and try to have fun with it and not think of it as a burden, along with estimating how long it would take you to complete the project/task and adding 10-20% more time to account for errors. Also, make sure you are planning far ahead in the future and utilizing your time as best as you can at that current time. Most importantly, enjoy the process, learn and grow from your mistakes, and give it your 100%.
