
Initial Ideas
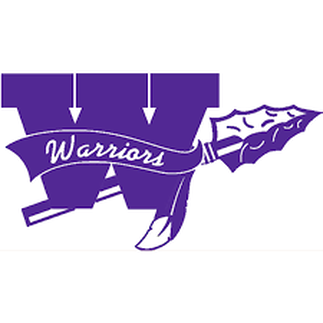
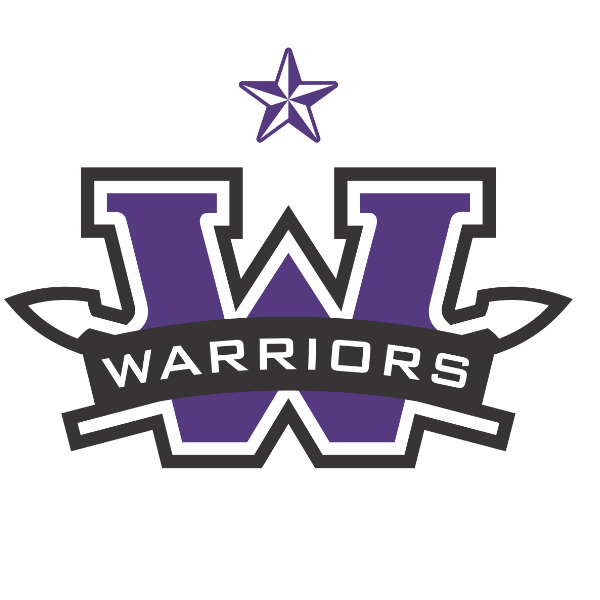
These were the initial ideas I had for what I wanted to do for my vinyl project. I ended up choosing the first one as I could get 3 different color regions the easiest and because I thought it looked the best.

|
|
|
Creating the Illustrator File
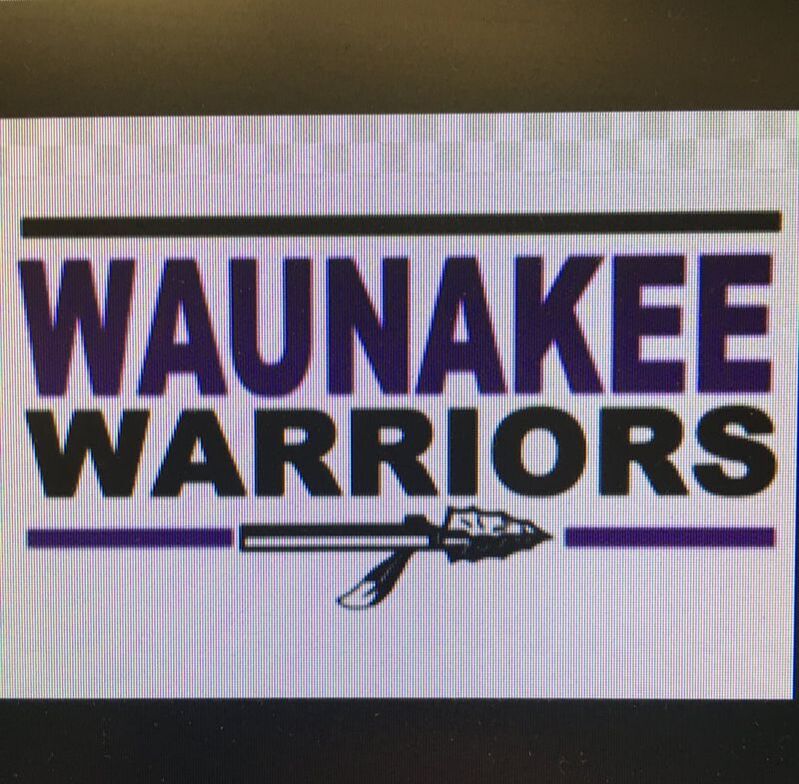
Original ImageThis is what the image looked like before creating outlines and isolating the parts.
|
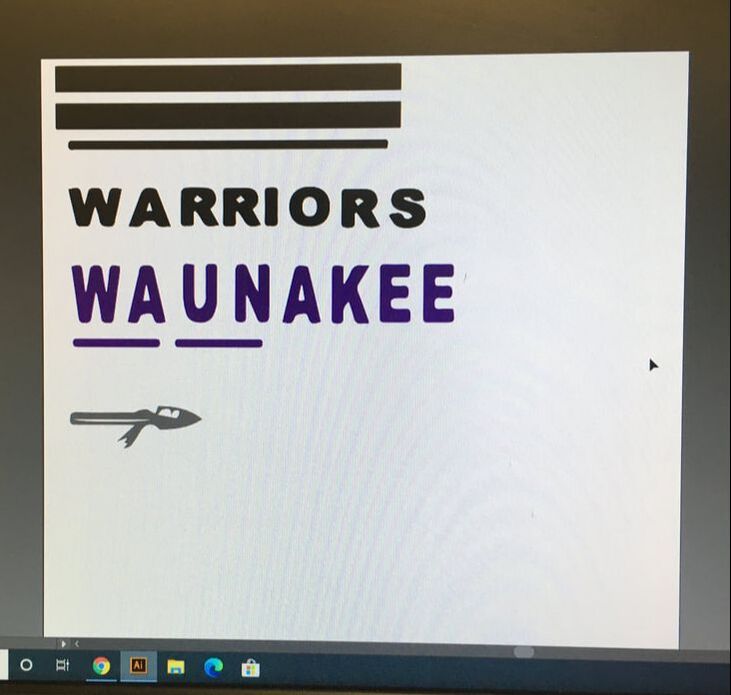
Reorganized ImageThis is what the image looked like after creating outlines and isolating the different colored parts. I had each color in a group with adequate space in between so that it would be easier to stop the vinyl machine and change it out for a different color.
|
Creation of the Vinyl Decal
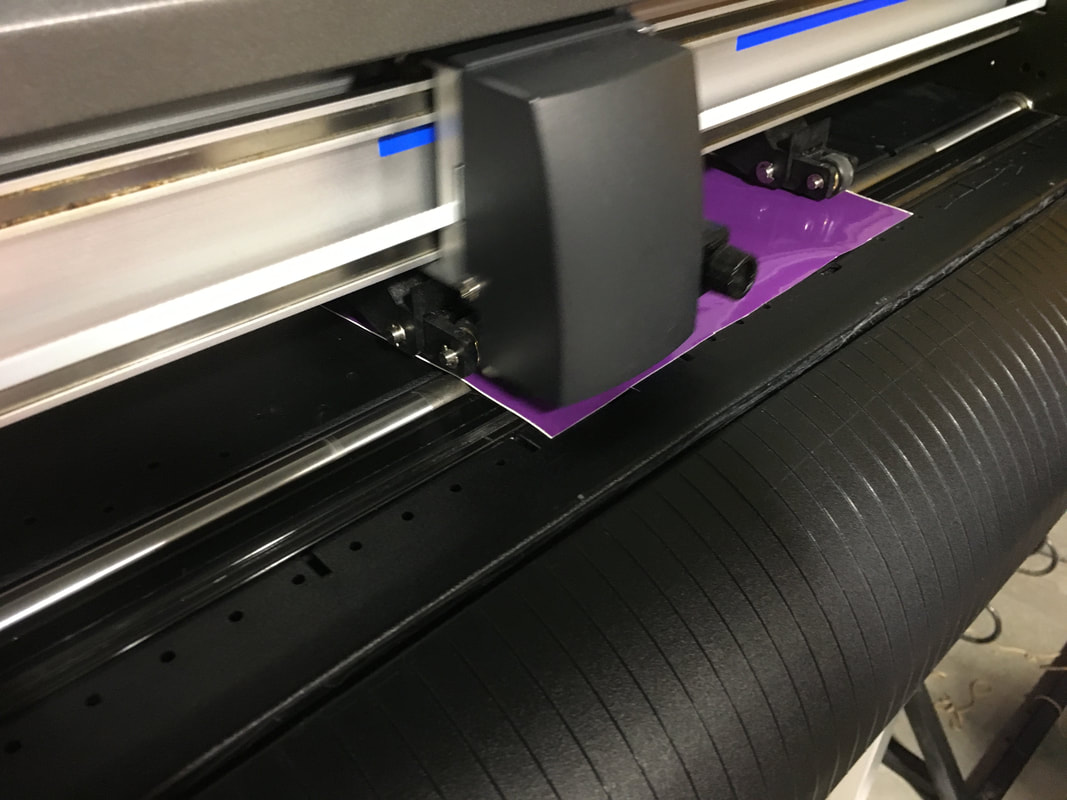
This the vinyl cutter starting to work on cutting out the vinyl. I did my purple section first, then black, and then gray.
|
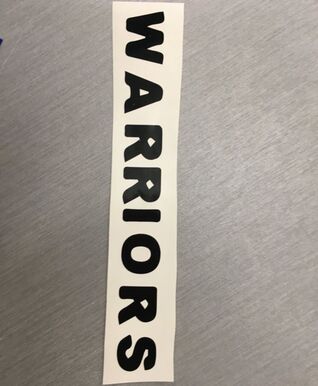
This is what one of the parts of my vinyl looked like after weeding. Some of the parts were certainly easier to weed than others, but overall it was not too bad.
|
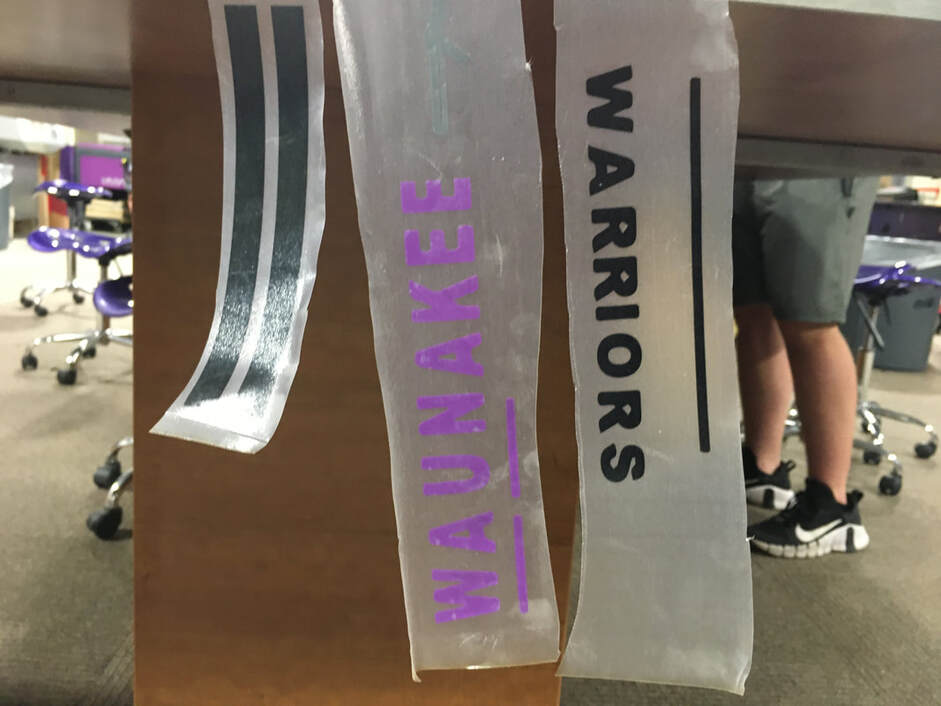
This is what the vinyl looked like after removing it from its wax backing and transferring over to transfer tape. I then cut out all of the different sections, for instance I separated all of the stripes but kept the words together. The vinyl went onto the transfer tape fairly easily, but the actual application was the worst part.
Final Vinyl Decal
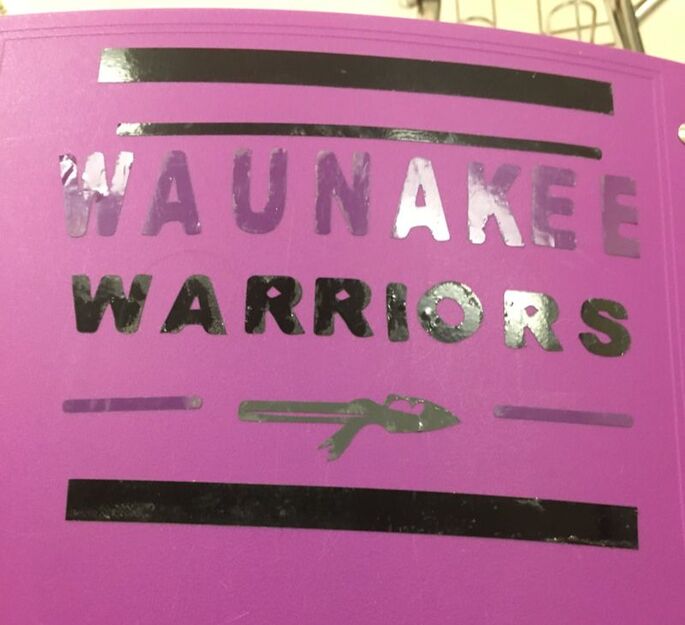
The vinyl application was alright, but as you can see, there is still some of the glue and it is a bit ripply. I think what happened was is that the tape melted onto the vinyl, in which it was very difficult to remove so it pulled, teared, and left glue. I think if the application went better it would look a lot better as well. Overall it was a good project and I learned some things about vinyl application.
Summary Paragraph
Overall, I really enjoyed this unit as it was a very different experience rather than the other things that I was familiar with, like 3D printing or using a laser. I learned a lot from this unit ranging from how to actually create a vinyl piece, and how to apply it to my projects. I hope to use something like this in the future as I have some cool ideas on what I could apply vinyl too.
