
Initial Research and Initial Designs
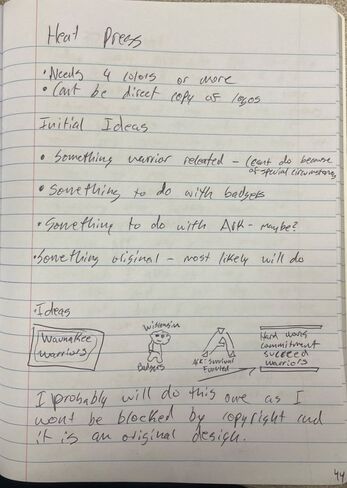
Here are my initial designs that I thought about doing for my heat press project. I ultimately chose the to create my own text as it would look better on my sweatshirt and since Waunakee is changing their logo, we weren't able to use the current logo or past logo, plus I don't want to copy and paste another logo onto mine. I think a really cool design would be to model it similar to the warriors logo, in which it would have the black/grey/white color scheme with the final words being "Warrior" in purple.

|

|

|
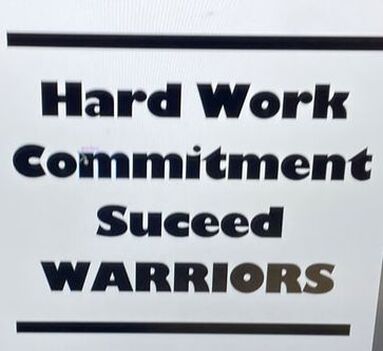
Example of Design
|
Design From Inventor Notebook
|
In my Inventor Notebook, I drew out some possible designs for my heat press project, in which I chose the last option of creating my own design. I chose to create my own design as not only would I not be directly copying something, but I would be able to make something that I wanted.
|
|
Creation of the Design in Illustrator

|
To create my design in Illustrator, I first typed out all of my words and chose the font I wanted. After that, I then added two black lines for accent lines. I also made sure to ungroup everything from each other, then group up all of the letters in each word together.
|
Cutting out the Vinyl/Application to Sweatshirt
After creating my file in Illustrator, I transferred it with an usb stick to the computer hooked up to the vinyl cutter to start using isolating the different pieces.
|
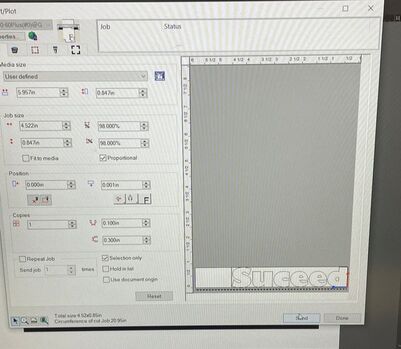
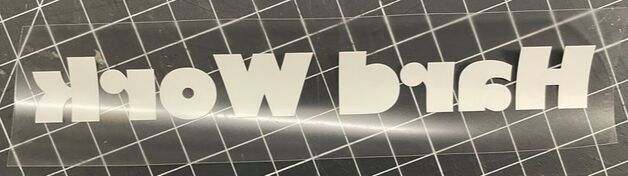
After grouping up each of the words together, I was able to get them ready to send to the vinyl cutter to cut out, but for this first one, I initially forgot to mirror it, so when I would have put it onto my project, it would have been backwards. Later I realized and changed it so that it was mirrored.
|
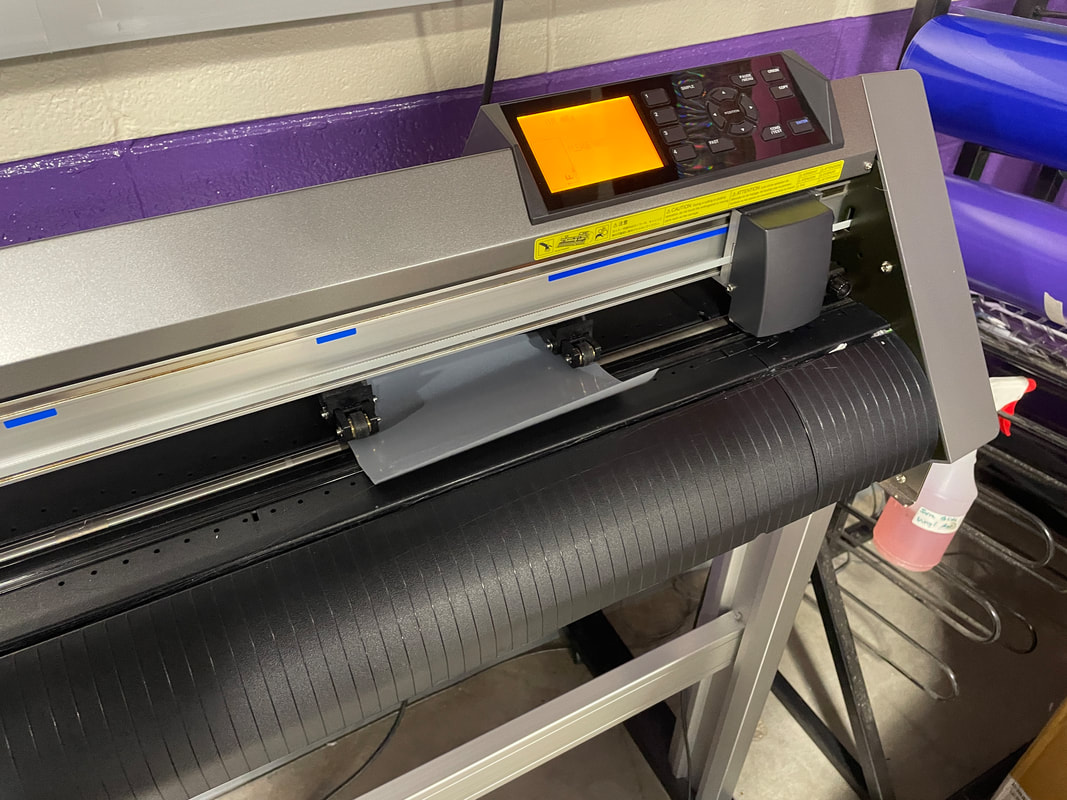
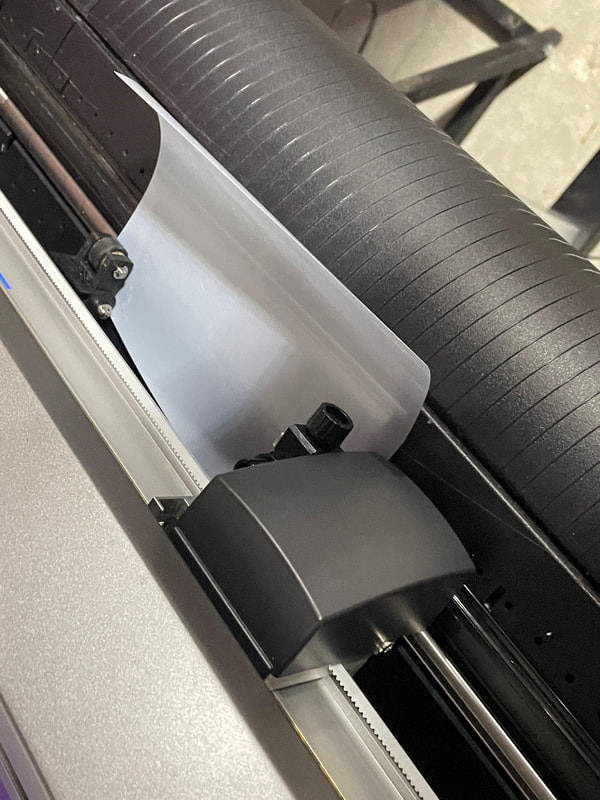
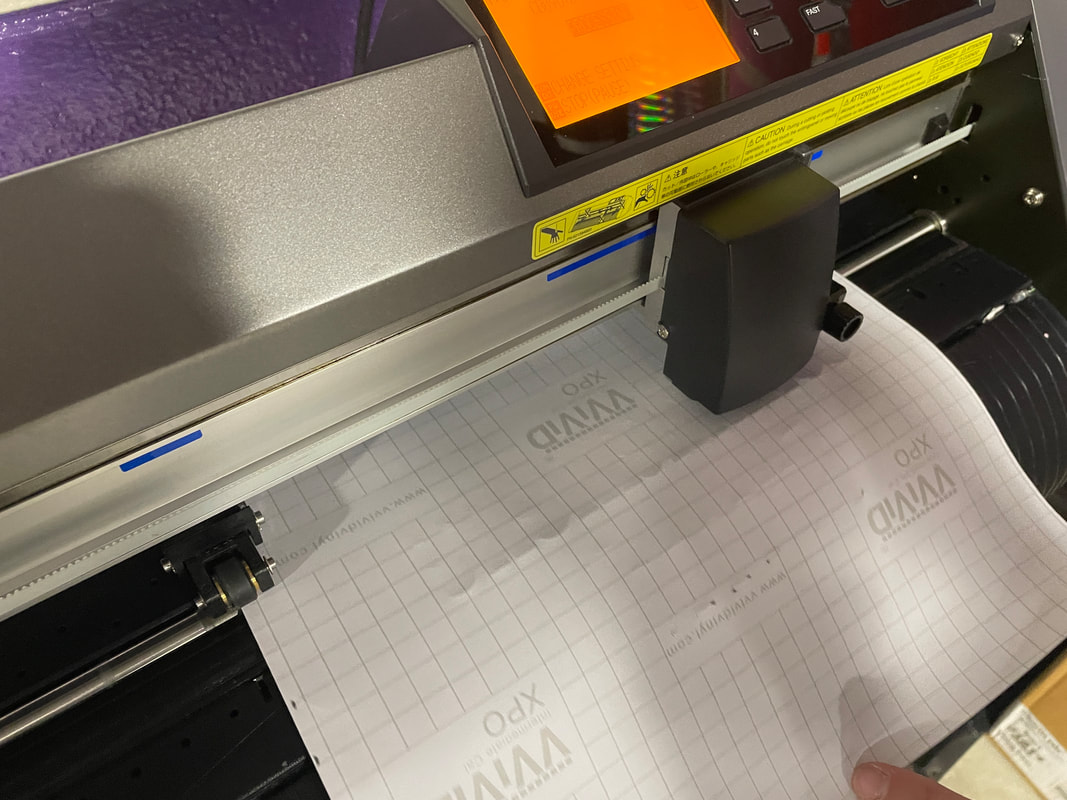
Here are some of the pictures taken while using the vinyl cutter to cut out my designs. The two pictures on the left side were pieces from the heat vinyl rolls, but the picture on the right, the vinyl had a different backing. Carter, one of my classmates, had bought heat press vinyl, which was one of the pieces on the right, but apparently it wasn't heat press vinyl, so it didn't work like normal vinyl and for some reason, it also didn't cut right, but that didn't matter as it wouldn't have worked anyway.
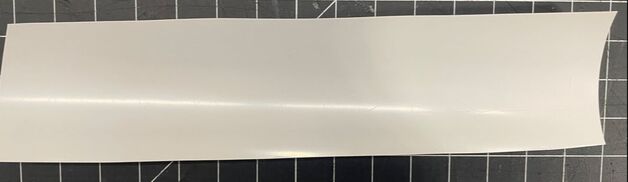
After using the vinyl cutter, I cut off the extra material that I didn't need in order to minimize the amount of weeding I would have to do.
|
After weeding, I was ready to start applying them to my sweatshirt after I had weeded all of the different parts.
|
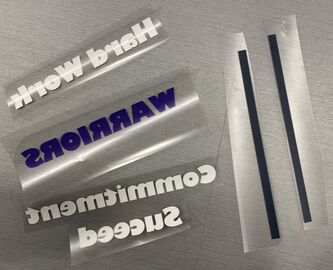
After weeding all of the different parts, this is how each of the pieces turned out. Some of the pieces were definitely easier to weed than others, like the two black lines compared to the complex words.
|
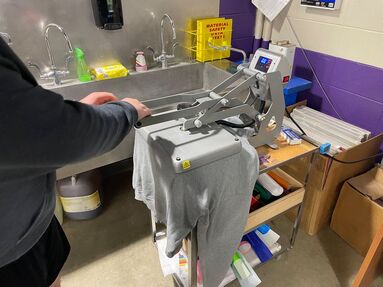
Here I am prepping my sweatshirt by pressing down on it with the heat press to 'iron' it out so that I would have a flat surface to work on. It also helped me out by holding the position of the sweatshirt, in which I had previously centered it.
|
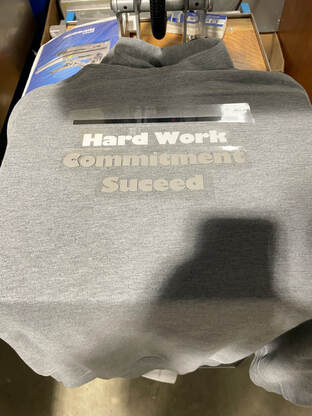
This is about the halfway mark for applying the heat press vinyl onto the sweatshirt. Basically, you would take the pieces and lay them down in the spot where you wanted them, and since the back of the tape was sticky, it held in place really well. After that, you would then hold down the heat press machine for 15 seconds so that the vinyl was melted into the clothing. I also had to make sure that I did 1 piece at a time and that nothing overlapped each other, otherwise the design wouldn't come out right.
|
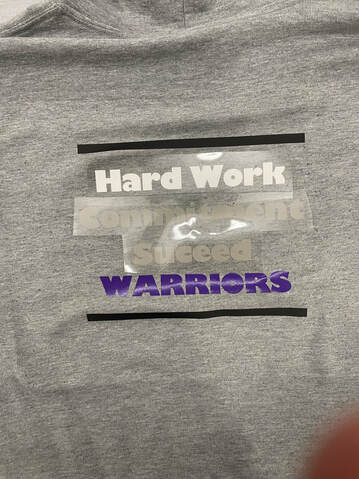
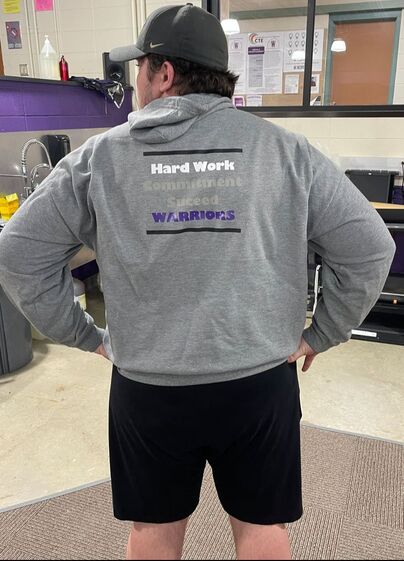
This is what the sweatshirt looked like after all of the pieces were applied to it. Carefully, I removed each piece of transfer tape from the letters, trying to make sure that none of the letters peeled off. Overall, I would say that this project turned out great and that it looks amazing and all of the spacing for each of the pieces turned out really well.
|
Final Heat Press On My Sweatshirt |
|
Summary of Heat Press Unit
Overall, in the Heat Press Unit, I learned a lot about vinyl, using the heat press, and learning how to use Illustrator. I also was able to learn more about heat press vinyl and how it is different from regular vinyl. Furthermore, I was also able to be refreshed on how to use the vinyl cutter as I had only used it once before, which was the first semester of freshman year, which was also during COVID. It also was a nice break from working on my final project as well. In summary, this was a nice unit to get away from my final project and make something that looks amazing as well.
